Testing the Model’s Predictions Locally with Workbench
The ScaleOut Digital Twins Workbench can be used to validate your model locally before deploying it.
First, create a new project UnitTests in your digital twin model solution (e.g. a console app). You will use this project to run some basic tests.
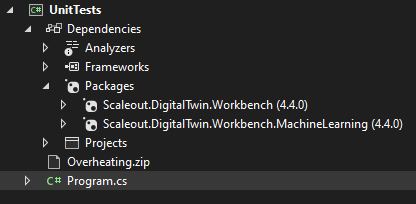
Second, add references to 2 Nuget packages:
Scaleout.DigitalTwin.Workbench
Scaleout.DigitalTwin.Workbench.MachineLearning
Note
The minimum version for these 2 packages is 6.0.0.
Finally, write a simple program to initialize the Workbench with your model, initialize the Anomaly Detection Provider and send a message.
The Scaleout.DigitalTwin.Workbench.MachineLearning package introduces a new API that allows you to initalize the anomaly detection provider and make it available in the Workbench. Call AddAnomalyDetectionProvider and provide:
the name of the model,
the reference name of the trained algorithm as chosen in the Training Tool,
and the path to the zip file produced by the Training Tool.
static void Main(string[] args)
{
  using RealTimeWorkbench wb = new RealTimeWorkbench();

  // Add our SensorsRT model
  var endpoint = wb.AddRealTimeModel("SensorsRT", new SensorsRTMessageProcessor());

  // Add our trained algorithm for SensorsRT called Overheating
  wb.AddAnomalyDetectionProvider("SensorsRT", "Overheating", "Overheating.zip", null);

  // Send a message to an instance
  var msg = new SensorsMessage()
  {
      RPM = 42500f,
      Temperature = 228f,
      Friction = 2.31f
  };

  byte[] msgBytes = System.Text.Json.JsonSerializer.SerializeToUtf8Bytes(msg);
  endpoint.Send("InstanceA", msg);
}
You can test your anomaly detection through logging or through a debugger and set a breakpoint in the ProcessMessages method.