Windows Installation
This topic describes the installation process for the ScaleOut Active Caching software on Windows.
Prerequisites
Before installing the software, ensure that your system meets the following requirements:
Windows 11/Server 2016 or later
Administrator privileges
A ScaleOut StateServer cluster on your network, accessible from the server you will use for this installation.
Local or Remote
The ScaleOut Active Caching service is a web-based UI that is hosted by a Windows service. You have two options for running the ScaleOut Active Caching Management UI service:
Run it locally on an existing ScaleOut StateServer host machine
Run it on a separate machine as a remote client
Note
The ScaleOut Active Caching Management UI should only be configured to run on one machine, as the internal SQLite database that it uses is not distributed. Running the UI service on multiple machines may lead to conflicts and loss of data.
Running locally
The easier configuration is to enable the service on one of your existing ScaleOut StateServer host machines. The ScaleOut Active Caching Management UI service is installed by default alongside the ScaleOut StateServer. You can skip to the Start the ScaleOut Active Caching Web Service section.
Running as a remote client
To run the ScaleOut Active Caching Management UI from a machine that is not one of the ScaleOut StateServer hosts, you will need to do two things:
Install the ScaleOut StateServer remote client and ScaleOut Active Caching Services.
Configure the remote client to communicate with the ScaleOut StateServer cluster.
1. Install the ScaleOut StateServer remote client
Installing the ScaleOut StateServer remote client will also install the ScaleOut Active Caching Services.
Download the Windows installer from ScaleOut Support Downloads page.
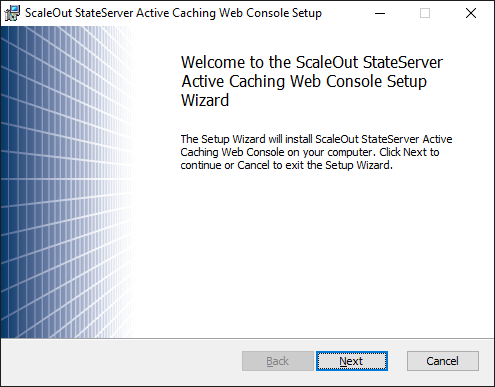
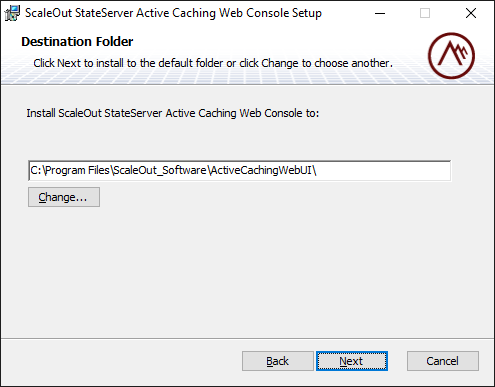
Run the MSI and go through the steps of the installation wizard:
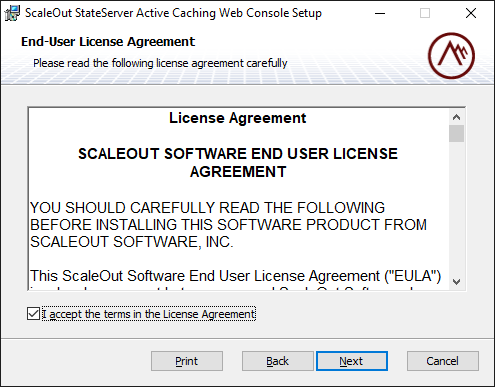
Accept the terms of the license agreement:
Select the remote client option:
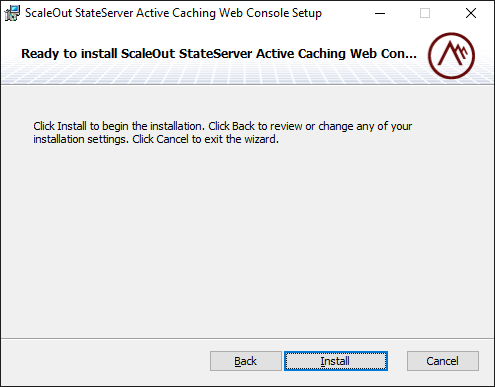
Complete the installation:
2. Configure the remote client to communicate with the ScaleOut StateServer cluster
Open the ScaleOut Management console to configure the remote client. You will need to add the IP addresses of the ScaleOut StateServer hosts to allow the connection to the cluster.
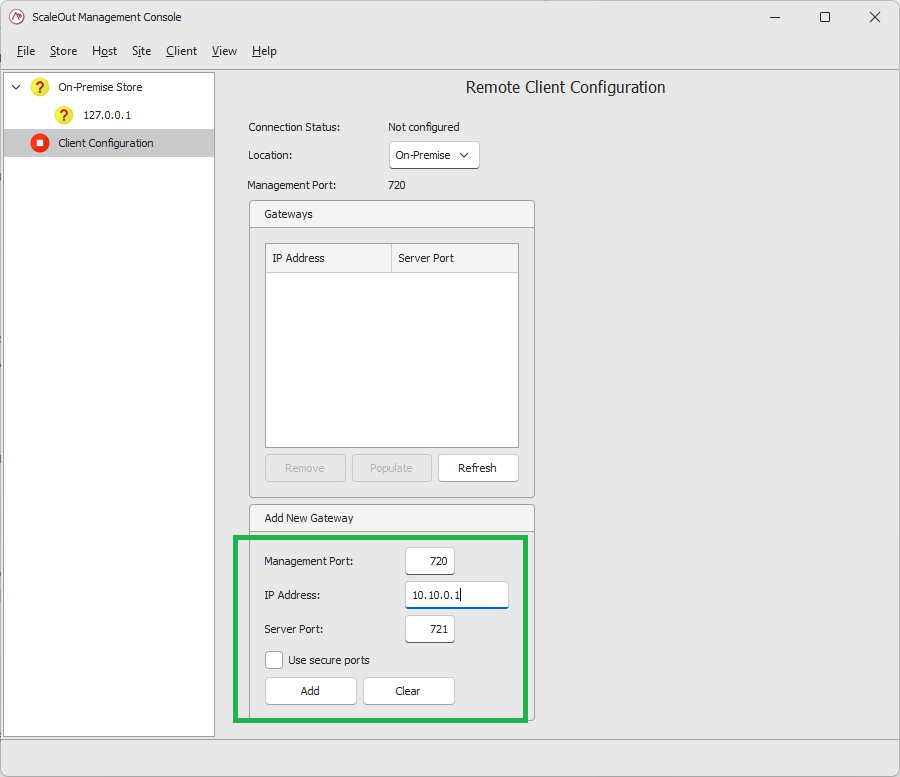
Once you have entered the IP address and ports of one of the hosts, you can repeat the operation for each host, or you can right-click on the client and select the Populate option. It will automatically grab the IP addresses of all hosts.
For details on how to do that using the console, refer to Configuring the Remote Client Option.
Start the ScaleOut Active Caching Web Service
Once installed, start the ScaleOut Active Caching service:
net start soss-ac-web
To configure the service to start automatically on system boot, run the following command:
sc config soss-ac-web start=auto
Self-Signed And Trusted Certificates
For convenience, the ScaleOut Active Caching installation comes with a self-signed TLS certificate. This self-signed certificate is not intended for production usage and should be replaced with a trusted certificate. Follow our step-by-step guide to use your trusted certificate within your domain.
If you intend to use the self-signed certificate for your testing, you need to add it to the Trusted Root Certification Authorities before using the UI.
First Time Log in
Note
Install the self-signed certificate before opening the ScaleOut Active Caching Management UI. Please refer to the previous section.
Open the ScaleOut Active Caching Management UI (https://localhost:7701). Press Login and use the built-in admin user:
Email:
admin@localhost.netPassword:
Sc@le0ut
To register new users or manage passwords and membership roles, please refer to the Manage Users page.
Installed Services and Components
The Windows installer installs three services to the machine:
Service |
Port |
Summary |
|---|---|---|
|
7701 |
Used to access the ScaleOut Active Caching UI. |
|
8801 |
Used for sending messages to msg modules. |
The working directory, binaries, configuration, and log file locations of these services are:
Service |
File Location |
Log File Location |
|---|---|---|
|
%ProgramFiles%\ScaleOut_Software\ActiveCachingWebUI\WebService.Api |
%ProgramData%\ScaleOut Software\WebService.Api |
|
%ProgramFiles%\ScaleOut_Software\ActiveCachingWebUI\Messaging.Api |
%ProgramData%\ScaleOut Software\Messaging.Api |