Power BI
You can create a Power BI export that will connect to a workspace in the Microsoft Power BI platform. The export will push widget data from the ScaleOut Digital Twins™ service to Power BI streaming datasets.

Concepts
Microsoft Power BI can be used to ingest and visualize data. Power BI authenticates applications to access its APIs with Azure Active Directory (AD). To allow the ScaleOut Digital Twins service to access Power BI, you first need to configure both Power BI and Azure AD to allow an application to access Power BI’s APIs. Next, you need to create a Power BI export using the ScaleOut Digital Twins UI and configure it with the necessary application credentials.
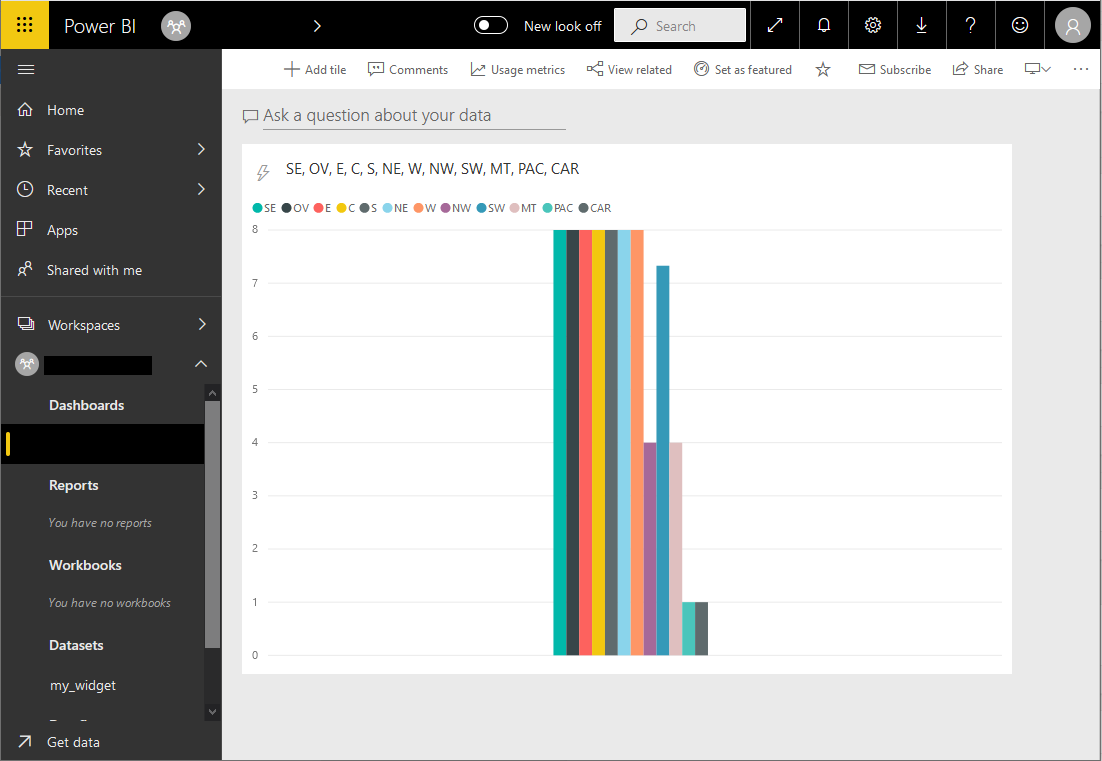
After a widget is configured to use the Power BI export, the export starts sending widget results to the Power BI platform. The export will automatically create a “PushStreaming” dataset within the defined Power BI workspace for every widget. This dataset is identified using the widget’s name. The dataset values are specified using the groupby field of the widget. The export refreshes and re-publishes updated widget data to the dataset every 5 seconds.
Note
A Power BI Pro subscription is required to connect to Microsoft Power BI.
Configuring Power BI
The following steps are required to grant the ScaleOut Digital Twins service access to a Power BI workspace:
Create a native application registration in Azure AD.
Allow the application full Power BI API access.
Create an application secret for the application.
Create a service principal for the application.
Create a security group.
Add the service principal to the security group.
Create a Power BI workspace.
Allow service principals in the defined security group to access Power BI.
Add the security group to the workspace as an Administrator.
These steps are explained in detail below to assist you in setting up Azure AD and Power BI to use an export. For full documentation on how to accomplish these steps, please visit the following documentation.
First, you can execute the following PowerShell script to create an Azure AD native application and a service principal for that application. The script will then create a security group and add the service principal to the group.
Install-Module -Name AzureAD
Connect-AzureAD -TenantId your-office-365-tenant-id
$nativeApp = New-AzureADApplication -DisplayName "ApplicationDisplayName" -PublicClient $true
$sp = New-AzureADServicePrincipal -AppId $nativeApp.AppId
$group = New-AzureADGroup -DisplayName "GroupDisplayName" -SecurityEnabled $true -MailEnabled $false -MailNickName notSet
Add-AzureADGroupMember -ObjectId $($group.ObjectId) -RefObjectId $($sp.ObjectId)
Next, use the Azure portal to expose the Power BI REST API to the application. After logging into the Azure Portal, you can see the newly created application under “App Registrations”. Follow these steps:
Open the application you just created and click “API Permissions”.
Press the “+ Add a permission” button.
Select the “Power BI Service”, click “Delegated Permissions” and then allow all API permissions.
Select “Grant Admin Consent for …” to grant delegated permissions to the application.
From the main application overview page, save the “Tenant ID” and “Client ID”.
After the API permissions are exposed, the next step is to create a client secret. Under the application registration, on the left navigation bar under “Manage”, click the “Certificates & Secrets”. Inside the new window, create a new client secret by selecting the “+ New client secret”. Save the client secret to your password manager of choice.
Power BI needs to be configured to allow security groups to access the Power BI subscription. To do this:
Login to Power BI.
Select the gear icon and click “Admin portal” from the dropdown.
Click “Tenant settings” and scroll to “Developer settings”.
Expand the “Allow service principals to use Power BI APIs” and click the “Disabled” slider.
Inside the new screen, select “Specific security groups (Recommended)”, enter the security group created by the Powershell script, and press apply.
Next, create a new Power BI workspace or navigate to an existing workspace:
Expand the “Workspaces” tab and hover over your workspace.
Click the “…” button and then select, “Workspace access”.
In the slide-in window, add the created service principal as an admin to the workspace.
Lastly, determine the workspace’s ID:
From Power BI select the gear icon and click “Admin portal”.
Select the “Workspaces” option and then for the desired workspace click the “…” button.
Click details and then copy and save the workspace ID.
Once these steps have been completed, you will have all the information required to create create a Power BI exporter. To recap, you will need the following parameters to input in the ScaleOut Digital Twins UI:
the
client IDof the application registered in Azure ADthe
tenant IDfor the application registered in Azure ADthe
client secretassociated with the application that is registered in Azure ADthe
workspace IDwhere the service principal is a registered admin
Please see Creating and Managing an Export for details on creating and configuring exports in the ScaleOut Digital Twin Service’s UI. After creating an export name (i.e. “MyPowerBiExporter”), be sure to select “Power BI” as the type. Copy the credentials from the previous steps and select “Save” to deploy and start the Power BI export.