Installation
The ScaleOut Active Caching Management UI is a web-based interface that allows you to deploy and manage modules. In the following section, you will learn how to install and configure it.
Prerequisites
Before you configure and use the ScaleOut Active Caching Management UI, you need to install and configure a ScaleOut StateServer cluster. Refer to the StateServer quick start guide for details on how to install on Windows or Linux.
Local or Remote
You have two options for running the ScaleOut Active Caching Management UI service:
Run the service locally on an existing ScaleOut StateServer host machine
Run the service remotely on a separate machine as a remote client installation
This quickstart guide explains how to run the service on an existing ScaleOut StateServer host machine, as it requires minimal additional configuration. The ScaleOut Active Caching services are installed by default alongside the ScaleOut StateServer service, making it simple to configure.
To host the ScaleOut Active Caching UI service on a machine outside a ScaleOut cluster, you will need to install the ScaleOut StateServer remote client and configure it. Please refer to the Installation and Configuration topic for more details.
Note
The ScaleOut Active Caching Management UI should only be configured to run on one machine, as the internal SQLite database that it uses is not distributed. Running the UI service on multiple machines may lead to conflicts and loss of data.
Start the ScaleOut Active Caching web service
By default, the ScaleOut Active Caching Services are installed but not started. To start the ScaleOut Active Caching service, run the following command:
From an elevated command prompt, run:
net start soss-ac-web
sudo systemctl start soss-ac-web
To enable the ScaleOut Active Caching service to start automatically on system boot, run the following command:
From an elevated command prompt, run:
sc config soss-ac-web start=auto
sudo systemctl enable soss-ac-web
Install the provided self-signed certificate
For convenience, the ScaleOut Active Caching installation comes with a self-signed TLS certificate. This self-signed certificate is not intended for production usage and should be replaced with a trusted certificate. Follow our step-by-step guide to use your trusted certificate within your domain.
The provided self-signed certificate is located in the installation folder:
C:\Program Files\ScaleOut_Software\ActiveCachingWebUI\WebService.Api\certs
Right-click on the public key certificate file (default-sossac-cert.crt) and choose
Install Certificate. The Certificate Import Wizard will appear.Select the
Local Machinestore location and clickNext.Select
Place all certificates in the following storeand click onBrowse.Select the
Trusted Root Certification Authoritiesstore and clickOk.Click
Nextand thenFinishto complete the installation of the public key certificate.
Most browsers require a certificate exception for self-signed certificates. Add a certificate exception for the following URLs.
Service - Browser Certificate Exception |
|---|
|
|
In Mozilla Firefox, add a certificate exception by:
Navigating to Settings (alternatively, type about:preferences into the search bar).
Click
Privacy and Security.Scroll down to the
Certificatessection and selectView Certificates.Click
ServersClick
Add ExceptionFor location, enter one of the service URLs – i.e.
https://localhost:7701.Click
Get Certificate.Click
Confirm Security Exception.Repeat for all service URLs.
Open the ScaleOut Active Caching Management UI
Note
Install the self-signed certificate before opening the ScaleOut Active Caching Management UI.
On the computer where you completed the installation, open https://localhost:7701 in a web browser to access the ScaleOut Active Caching Management UI.
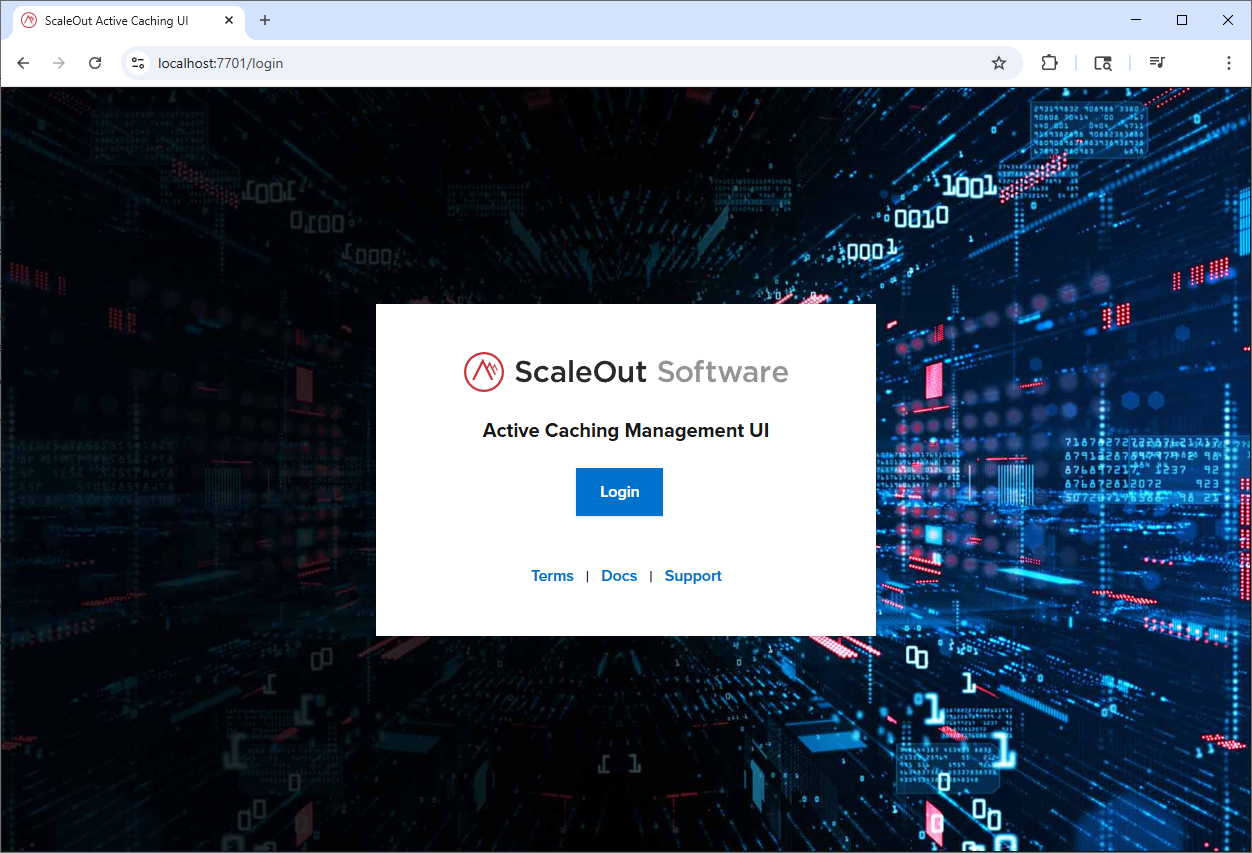
Press Login to authenticate.
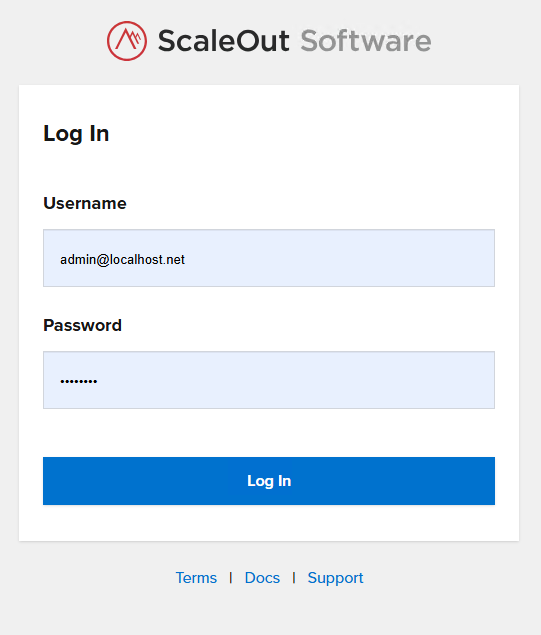
On that page, use the built-in Administrator account:
Email:
admin@localhost.netPassword:
Sc@le0ut
To register new users or manage passwords and membership roles, please refer to the Manage Users page.
Once authenticated, you will land on the home page of the ScaleOut Active Caching Management UI.
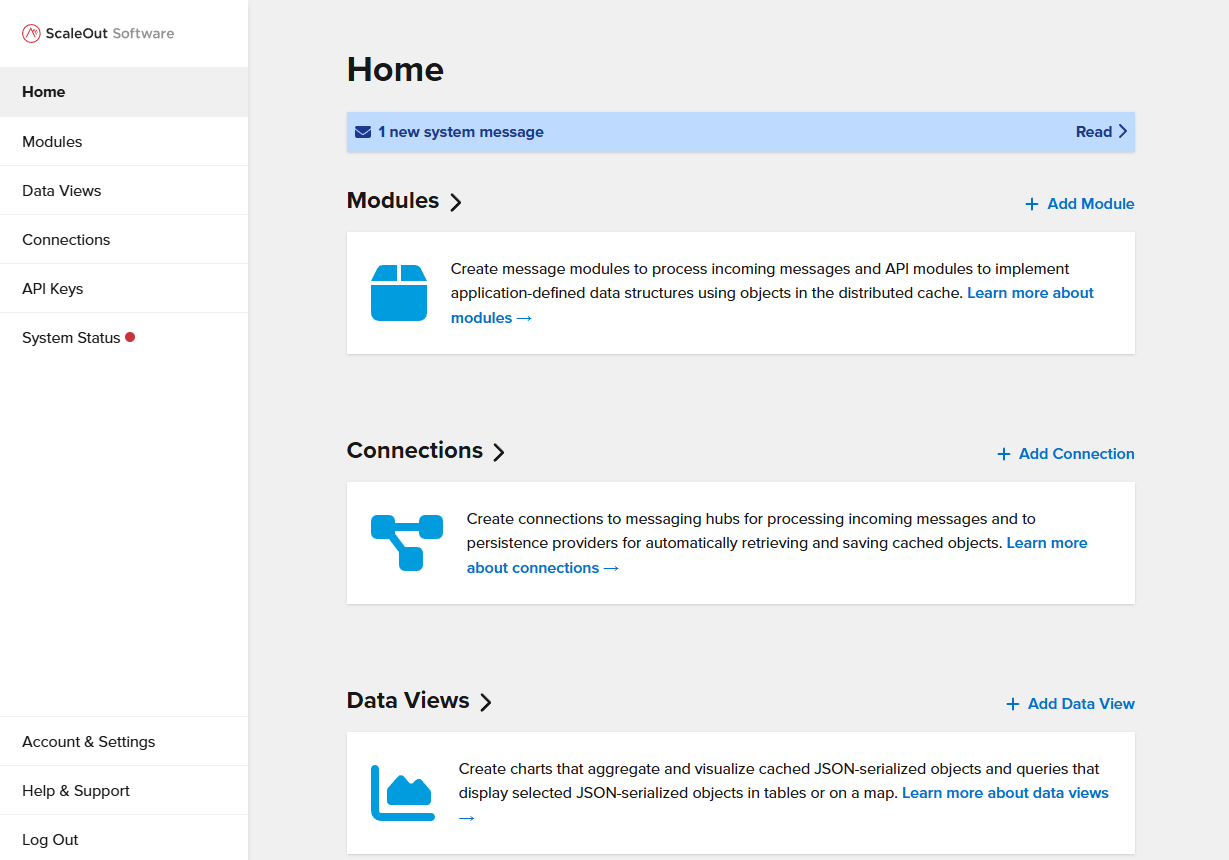
The ScaleOut Active Caching Management UI allows you to add and manage modules, add connections to external messaging services (such as Azure IoT Hub or Kafka), and add connections to persistence services (such as Dynamo DB, SQL Server, or Cosmos DB).
You will also be able to create and run queries and charts for your modules and track usage statistics.
You are now ready to build your first module.