Web Management Console
ScaleOut StateServer’s management console now runs as a web application embedded within the ScaleOut Management REST Service. By default, this service is configured to reject all connections. Please see the previous section on configuring the ScaleOut Management REST Service to enable the web management console.
Note
The StateServer service and the ScaleOut Management REST Service must both be running on the local host for the web management console to operate. The ScaleOut Management REST Service defaults to using port 4000 and is configured to accept requests from only the loopback address (“localhost” or 127.0.0.1).
The console can be run on any host (i.e., any server that runs the StateServer service) system, and it can manage all other hosts on the same network subnet that are configured with the same management port. On a host with the ScaleOut service installed, navigate to http://localhost:4000/console/store in a web browser to access the web console.
After startup, the management console presents the following display:

If you have enabled the GeoServer Option, the management console displays additional features for managing replication to remote stores:

Depending on your browser window width, you may see a more compact view:

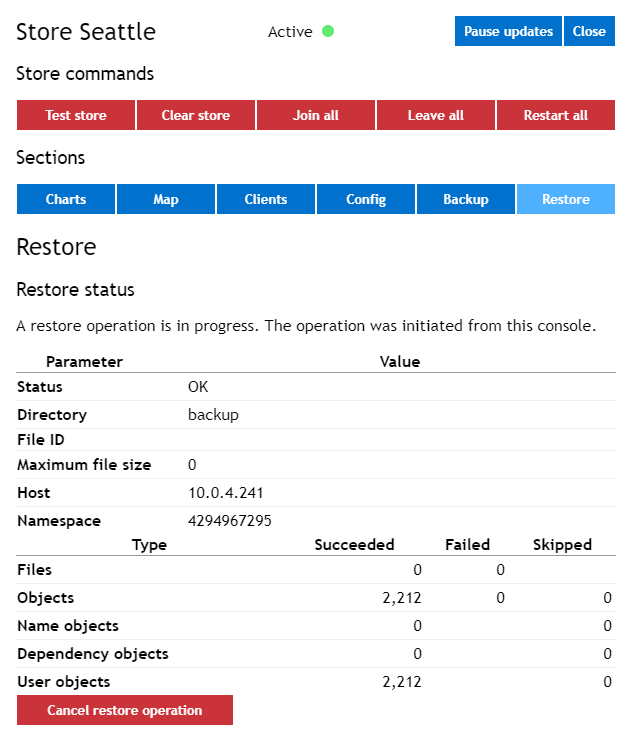
This display has two panes; the left pane is always visible and the right pane is revealed upon clicking the Open button. The left pane, called the Store List, contains a sub-list. The sub-list, called the Local Store List, depicts the store and shows the host IP addresses corresponding to hosts associated with the store. After clicking Open on any of the rows, the right hand pane displays details about the row. By default, the sidebar is not visible until one of these buttons is clicked.
Note
If the local host’s selected network interface cannot be found, the loopback IP address, 127.0.0.1, will be displayed for the local host. The network interface is selected by the settings of the net_interface and subnet_mask parameters in the soss_params.txt (see Configuration Parameters). The StateServer service will periodically poll for the selected network interface, and it will automatically restart and use the interface if it becomes available.
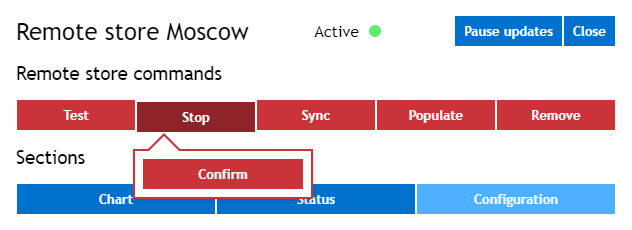
If the GeoServer Option is enabled, the left hand adds a second table, called the Remote Store List, that depicts the list of remote stores to which objects may be replicated. The items in this table correspond to the names of the remote stores that have been configured and are available to perform GeoServer replication. You can display and manage the configuration of individual remote stores in the right pane by clicking on the Open button for a specific remote store, or add a new remote store by clicking on the Add Remote Store button.
Note
The client parameters file for remote stores, soss_client_params.txt (see Configuration Parameters), is stored in ScaleOut StateServer’s installation directory on every host of the local store. Versioning information is kept in the file to ensure that all hosts always have the latest updates to the file. It is not recommended to directly edit this file; please consider using the management tools instead.
The following sections provide a more in-depth look at the store list and the sidebar’s sections.
The Local Store List
The store list lets you quickly see which hosts are currently associated with the local store. It also displays a colored icon that shows the status of the store and of the hosts. The possible indications for the store’s status are:

|
Active |
The store has been created and is accepting access requests. |

|
Not ready |
The store has been created but is temporarily not accepting access requests (i.e., objects cannot be created, read, updated, or removed at this time) because one or more hosts are not ready. This situation usually occurs during failure recovery or dynamic load-balancing. |

|
Inactive |
The store has not yet been created because all hosts are inactive. |

|
Unknown |
The store’s state is unknown because the local host has not yet joined a host group. |
The possible indications for each host’s status are:

|
Joining |
The host has been activated and is joining the store. |

|
Active |
The host has been activated and has joined the store. |

|
Leaving |
The host was previously activated and is now leaving the store. |

|
Isolated |
The local host cannot perform queries and cannot interrogate remote hosts. The local host may be affected by a network outage. |

|
Unknown |
The remote host’s status is unknown. The local host may have experienced a network outage, or it may have failed. |

|
Not ready |
The host has been activated but is temporarily not ready due to failure recovery or dynamic load-balancing or memory exhaustion which has caused the StateServer service to start paging. |

|
Inactive |
The host is inactive and has not joined the store. |

|
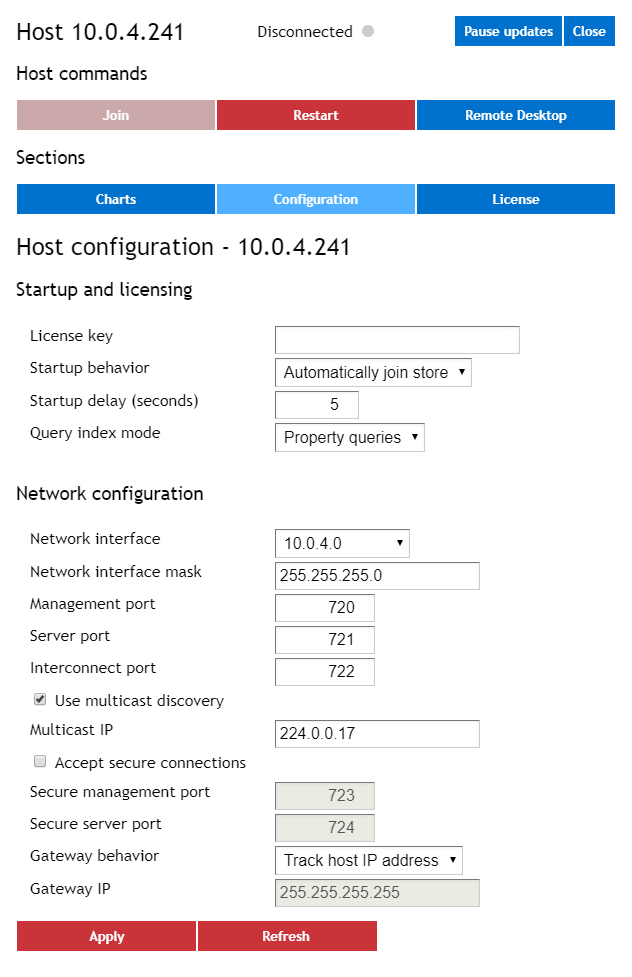
Disconnected |
The host is not yet connected to a host group and cannot form a store. |
Note
The management console may temporarily indicate that a host has a not ready status due to heavy network traffic that prevents a timely response to the console’s status queries. This does not necessarily indicate a problem with the host itself, and the status indication usually clears after a few seconds. However, it can be an indication of an overloaded network, in which case steps should be taken to reduce the network load or increase the network’s bandwidth.
Note
If a host remains in the not ready state for several minutes, the StateServer service will attempt an automatic restart to clear the condition. This could be an indication that the StateServer service is paging due to memory exhaustion. Be sure to check whether sufficient available physical memory exists for the service.
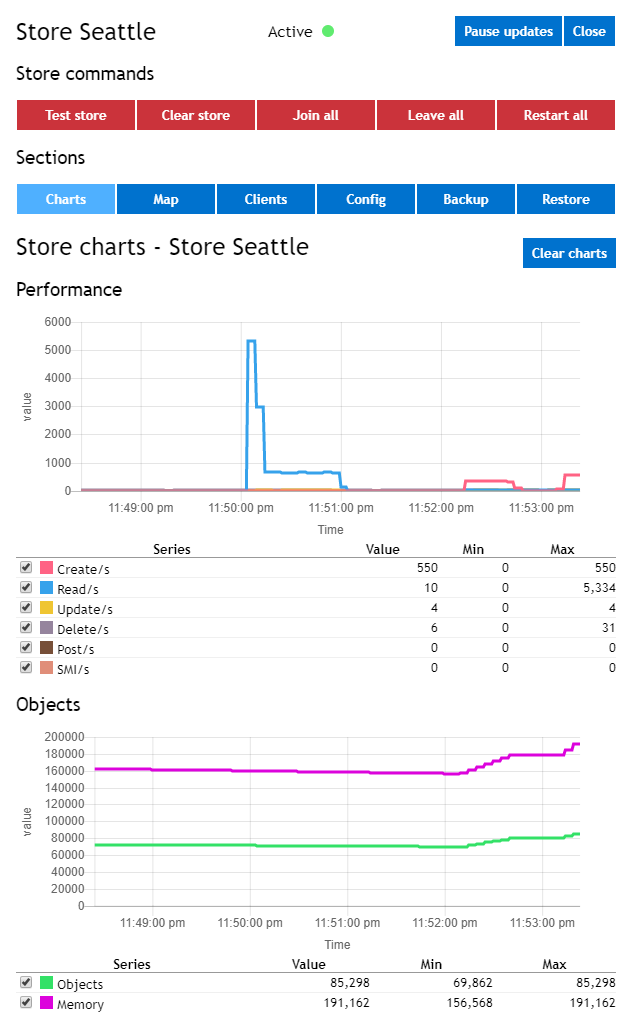
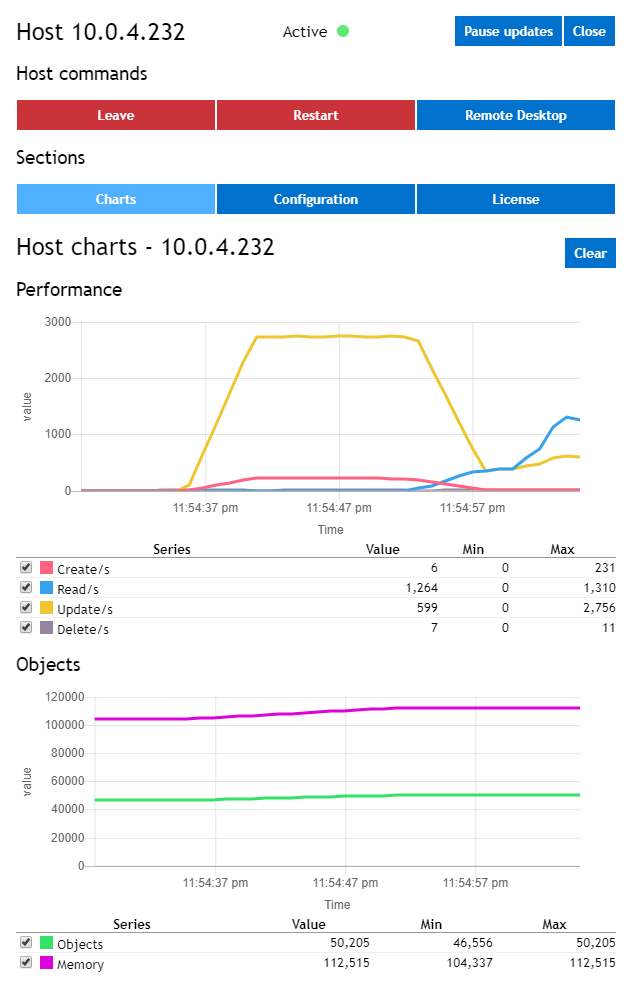
The Local Store List shows the store’s current status and the number of hosts that have joined the store. It shows aggregate statistics for the store, including the number of stored objects, the memory consumed by the objects, and the approximate access rate for object create, read, update, and delete operations.
Note
Statistics for replica objects, including the number of replica objects and the memory consumed for replica objects, are not shown in the Local Store List or any other statistical view. (As explained in the section Recovery from Failures, SOSS creates up to two additional replicas for each stored object.) For example, if ten objects of size 1 kilobyte (KB) each are created in a three-host store, these sections show ten objects and 10KB total memory consumed by stored objects.
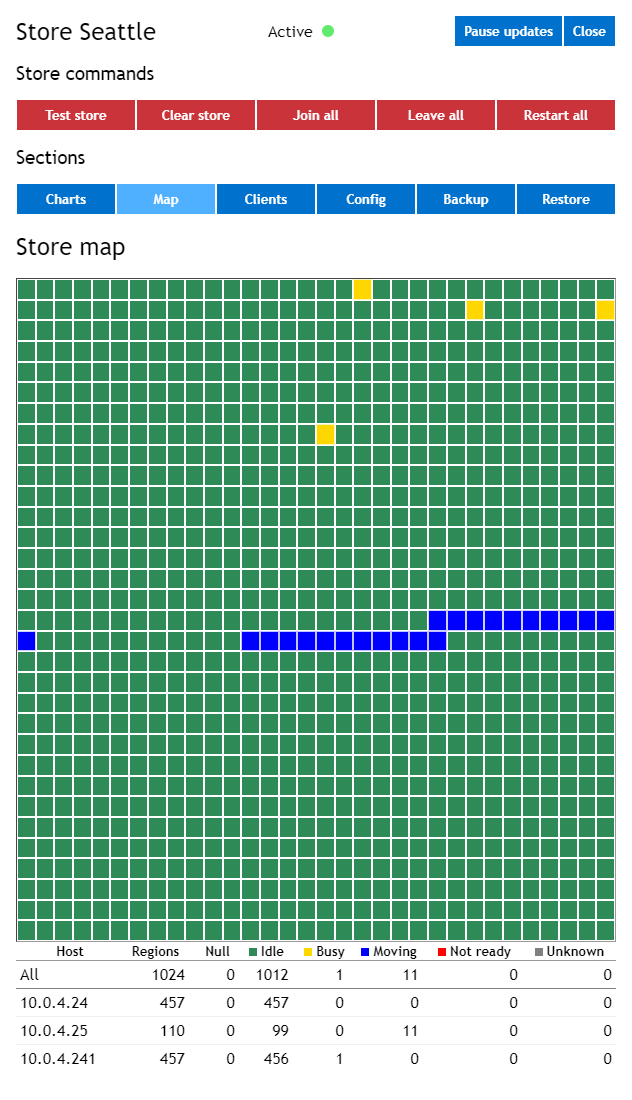
The Local Store List shows a table of statistics for the store on a per host basis.
If present, the Remote Store List has one of the following status indications for each remote store:
In addition, each remote store in the list of remote stores has the following possible status indications:

|
Active |
Replication to the remote store has been started and is running normally. |

|
Unknown |
Replication to the remote store has been started, but connectivity to the remote store has been lost. |

|
Not ready |
Replication to the remote store has been suspended due to insufficient memory in the local store. |

|
Inactive |
Replication to the remote store has not been started. |
The Remote Store List
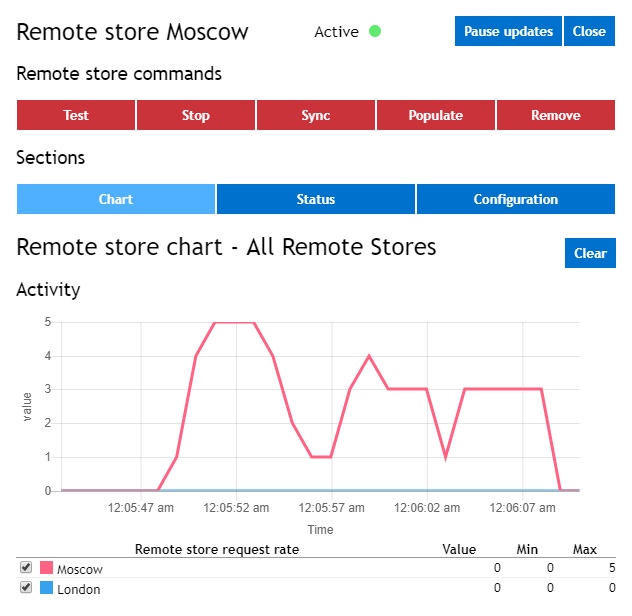
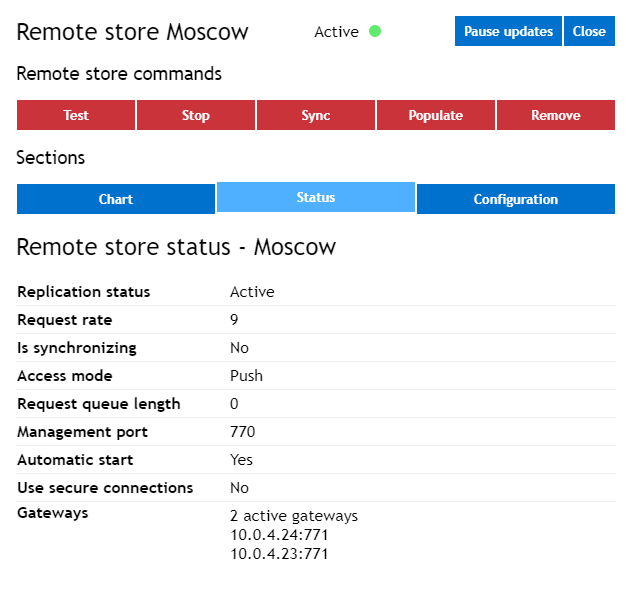
If you have licensed the ScaleOut GeoServer option, the Store List pane contains a second section, called the Remote Store List. This section shows a table of remote stores that have been added to the client parameters file. It also shows whether replication to these stores has been started and its current status. The below example shows two remote stores, Moscow and London, for which replication is active:

After replication has been started, a remote store moves from the inactive status to the active status. If communications with the remote store are lost because no gateway address is reachable, the management console will display the unknown status until the condition clears. Finally, the table of stores shows the aggregate replication rate (bytes per second) to each active remote store. It also lets you add and remove remote stores, start and stop replication to all remote stores, and track the status of active replication.
You can add a new remote store to the table and to the client parameters file by clicking the Add Remote Store button to display the Remote Store Configuration sidebar.
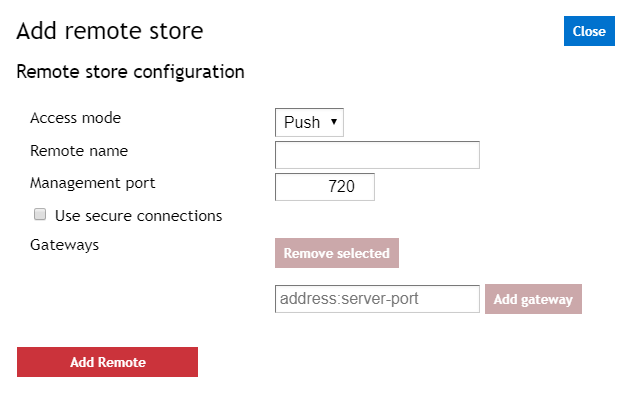
Fill out the information in the Add Remote Store section of the pane and click on the Add Remote button. For example, to add the remote store Rome to the current configuration, this section could be filled out as follows:
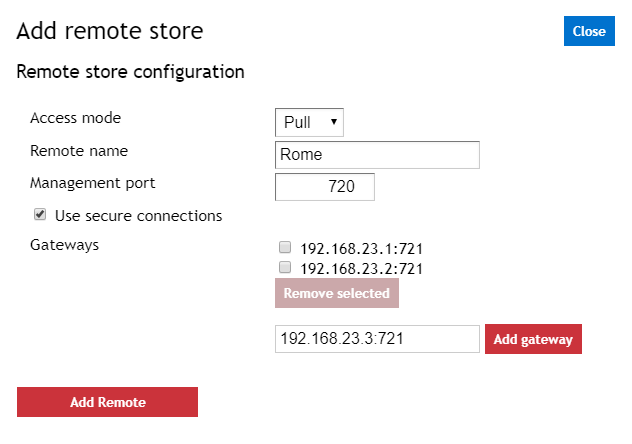
The remote store’s name is an arbitrary string of printable characters (except an embedded comma); it is used only by the local store to refer to the remote store.
Note
When pull access mode is used, the remote store’s name entered in this section must be identical to the name used when configuring the geos_local_name parameter (in the Store Configuration section) at the remote store. Otherwise, the local store will not be able to push updates to the remote store as part of pull access mode.
If the remote store will be configured to use secure connections, the remote store must already be configured to accept secure connections.
Note
When configuring a new remote store, if secure connections are in use, the management port and server port should match the secure management port and secure server port in the remote store’s gateway configuration, respectively.
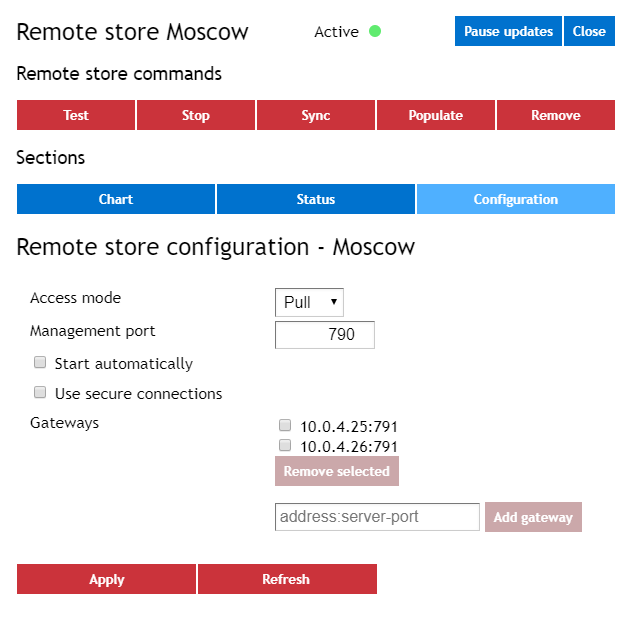
To finish adding a remote store, one or more gateways must be added to the remote store configuration. The gateway IP address and gateway server port must be reachable from the local store. This gateway address is used to establish communications with the remote store and begin replication of objects to the remote store. After each gateway is configured, click Add gateway to add it to the remote store configuration. One or more incorrectly configured gateways can be removed by selecting its adjacent checkbox and clicking Remove selected.
Note
If the host on the remote store corresponding to the gateway address is not part of an active remote store, the local store will not be able to connect to the remote store. To avoid this problem, you can add more gateway addresses to the client parameters file using the Remote Store Sidebar described below.
Click on the Add Remote button to add access information for this store to the soss_client_params.txt file and to display the store in the Store List table.
You can repeat this process to add additional stores to the Remote Store List and record their access information to the soss_client_params.txt file.
The Remote Store List also includes buttons to simultaneously control replication to all remote stores. Both the Start All and the Sync All buttons start replication to all remote stores. In addition, the Sync All button first replicates all local objects (which are subject to replication) to the remote store. This lets you synchronize the contents of an empty remote store to that for the local store prior to beginning ongoing replication of object updates. You can stop replication to all remote stores using the Stop All button.
Note
Replication commands are simultaneously performed on all hosts in the local store.
These replication commands are also available on a per-store basis by clicking on the buttons next to the remote store name in the Remote Stores List or in the Remote Store sidebar described below.
