Connections
The ScaleOut Digital Twins™ service provides connections to multiple IoT hubs, Azure Kafka, and a built-in REST service. Once you create a connection using the UI, incoming messages will be delivered to real-time digital twin instances for processing. In addition, these instances can use the connection to send reply messages back to their corresponding data sources.
When a connection is created, credentials specific to the connection’s type need to be supplied so that ScaleOut Digital Twins can make API calls to receive and send messages.
Note
Using the built-in REST messaging service, data sources can exchange messages with real-time digital twins without the need to create a connection. Please see the section REST for more information on using the REST messaging service.
The following sections explain how to create and manage connections.
Creating a Connection
To create a new connection, navigate to the Create Connection page under Connections in the left-side navigation bar.
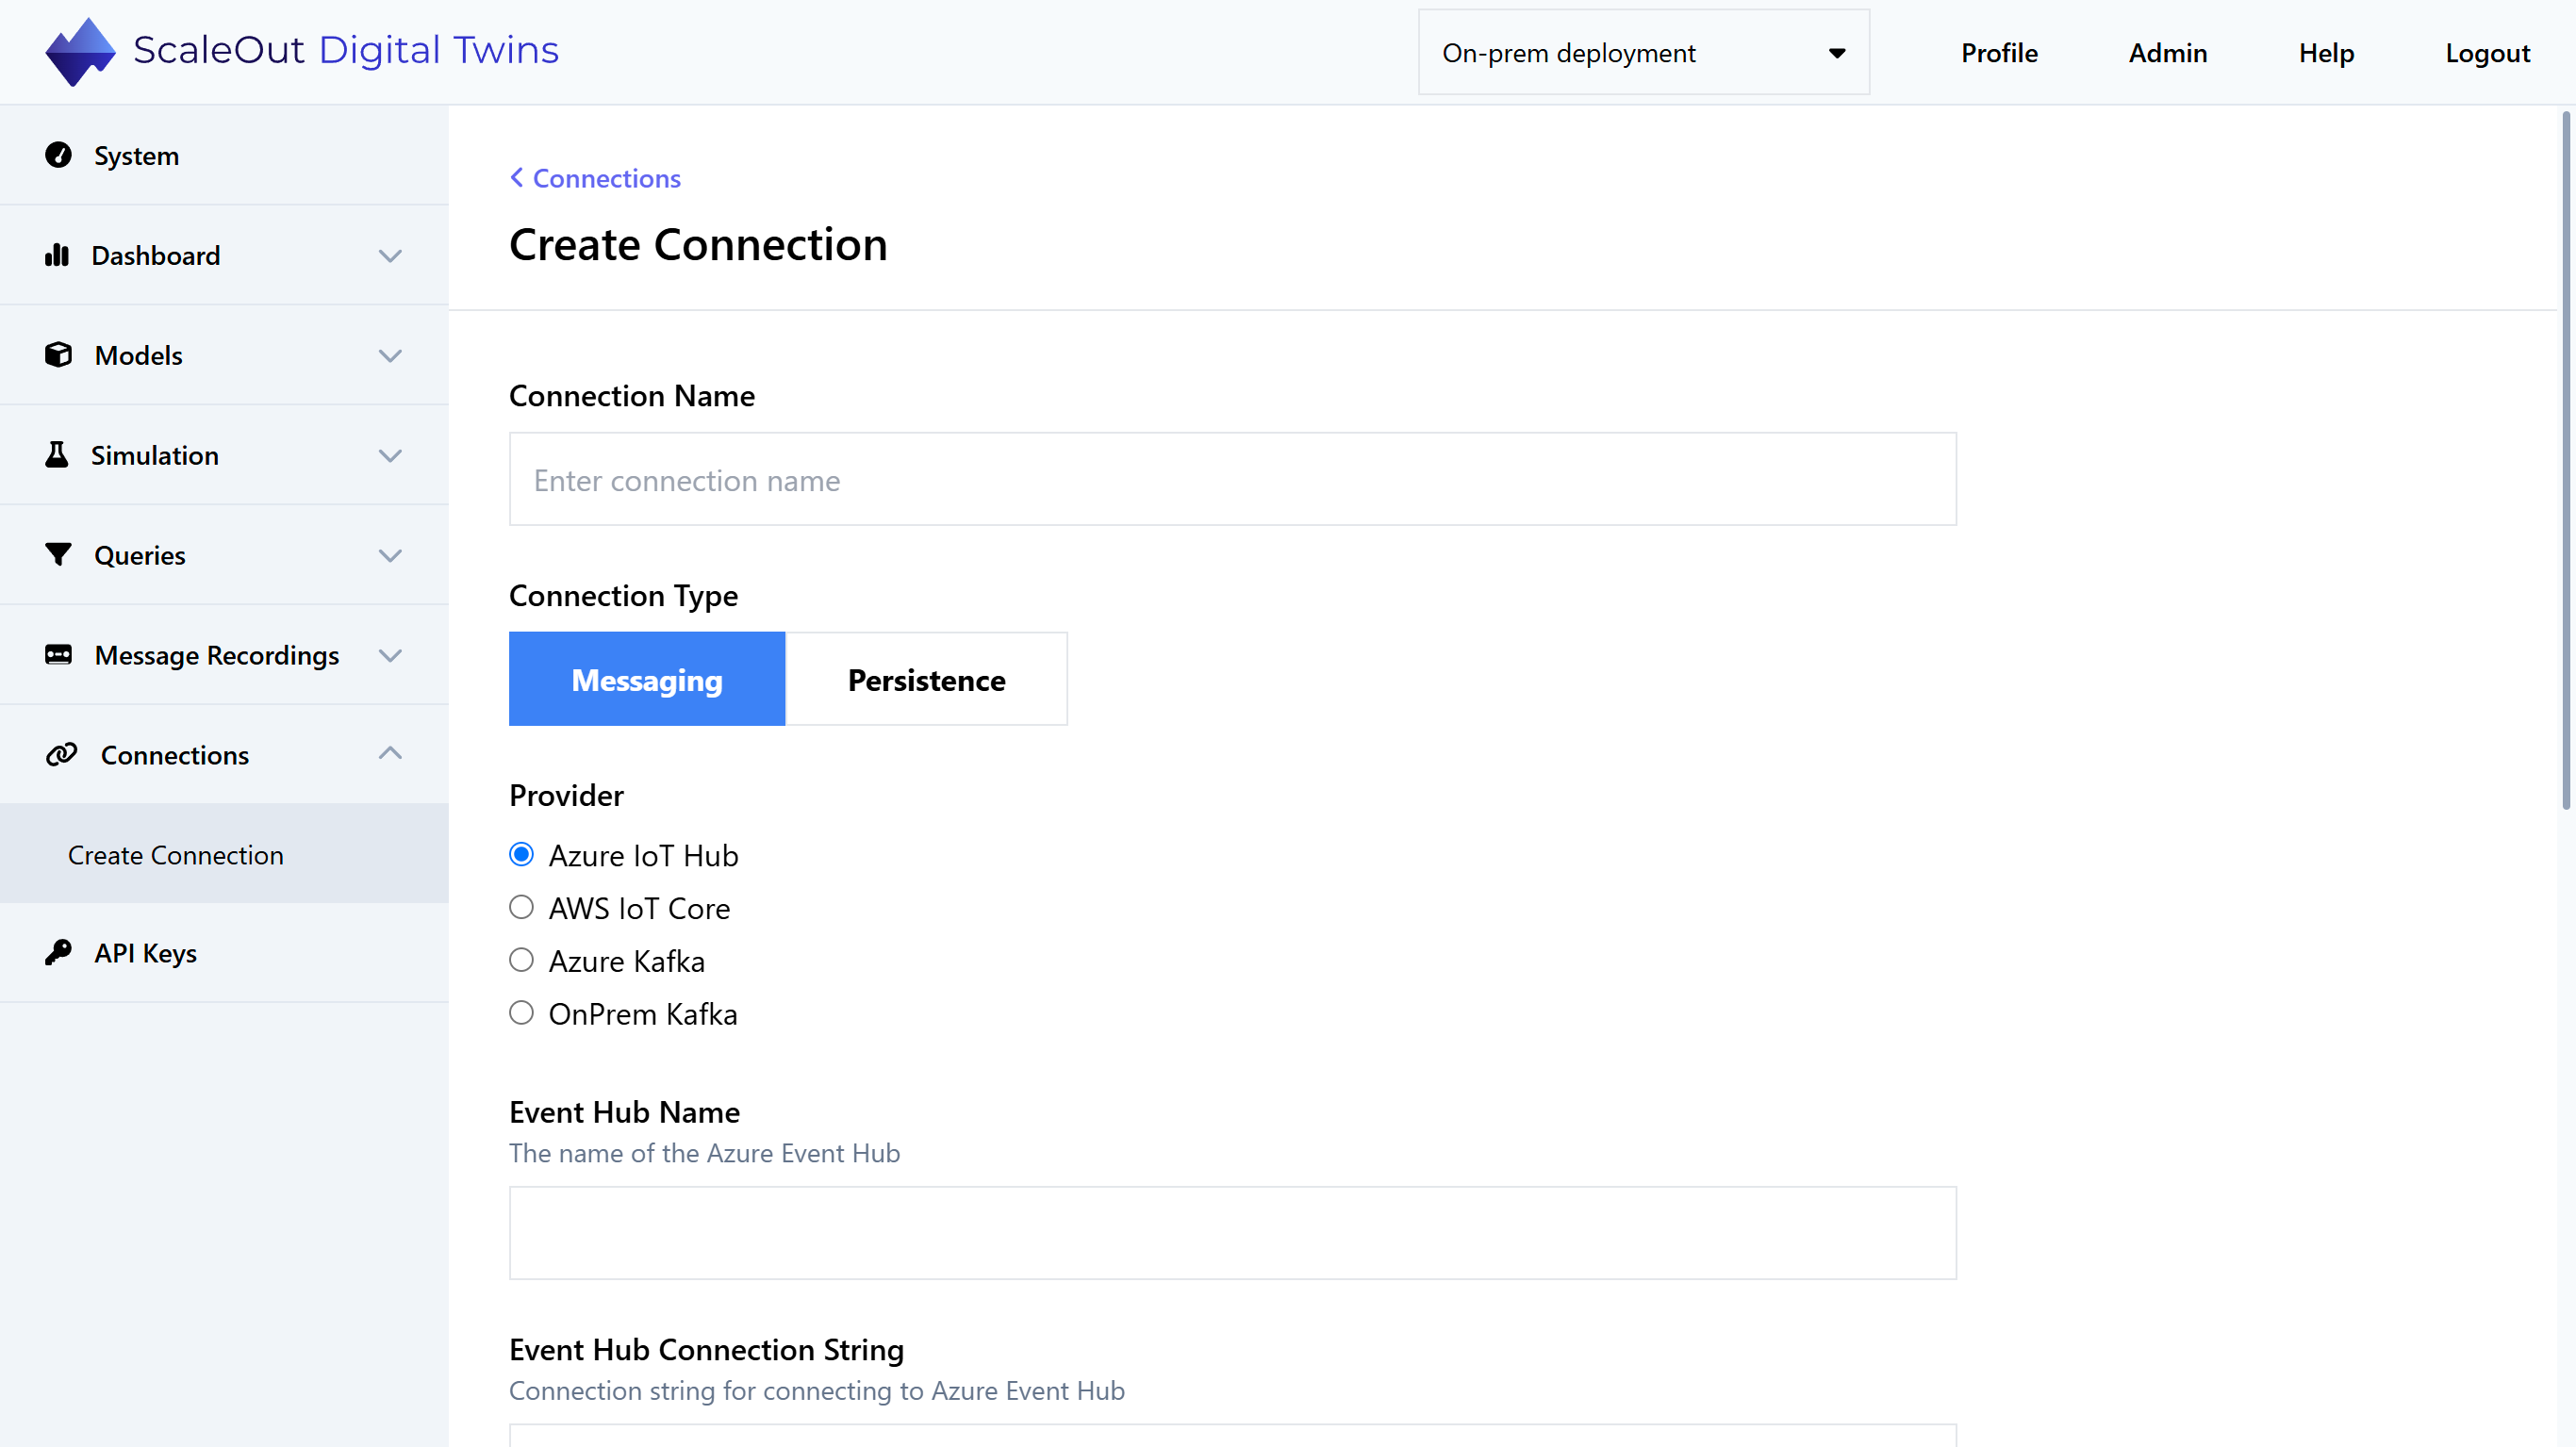
Connections are grouped into three types: Messaging, Persistence, and Alert. Messaging connections are used to send and receive messages. Persistence connections are used for external data storage, such as persisting the state of digital twin instances. Alert connections connect to external alert providers like Slack and PagerDuty.
To create a connection, first enter a name for the connection. Then select the desired connection type and choose the name of the connection provider (e.g. “Azure IoT Hub”). After selecting the connection type, additional connection parameters will appear. Parameters will vary depending on the connection provider.
By default, the connection is deployed automatically after creation. If you prefer not to deploy the connection automatically after it is created, uncheck the “Deploy when created” checkbox. Lastly, click the Create Connection button to create and/or deploy your connection.
Managing an Existing Connection
After a connection is created, you can manage it by navigating to the Connections page in the left-side navigation bar. This page shows a table of all connections along with their type, provider, and status. Controls for managing connections are above the table. To manage one or more connections, check the box next to its name and select one of the options under “Manage Selection”.
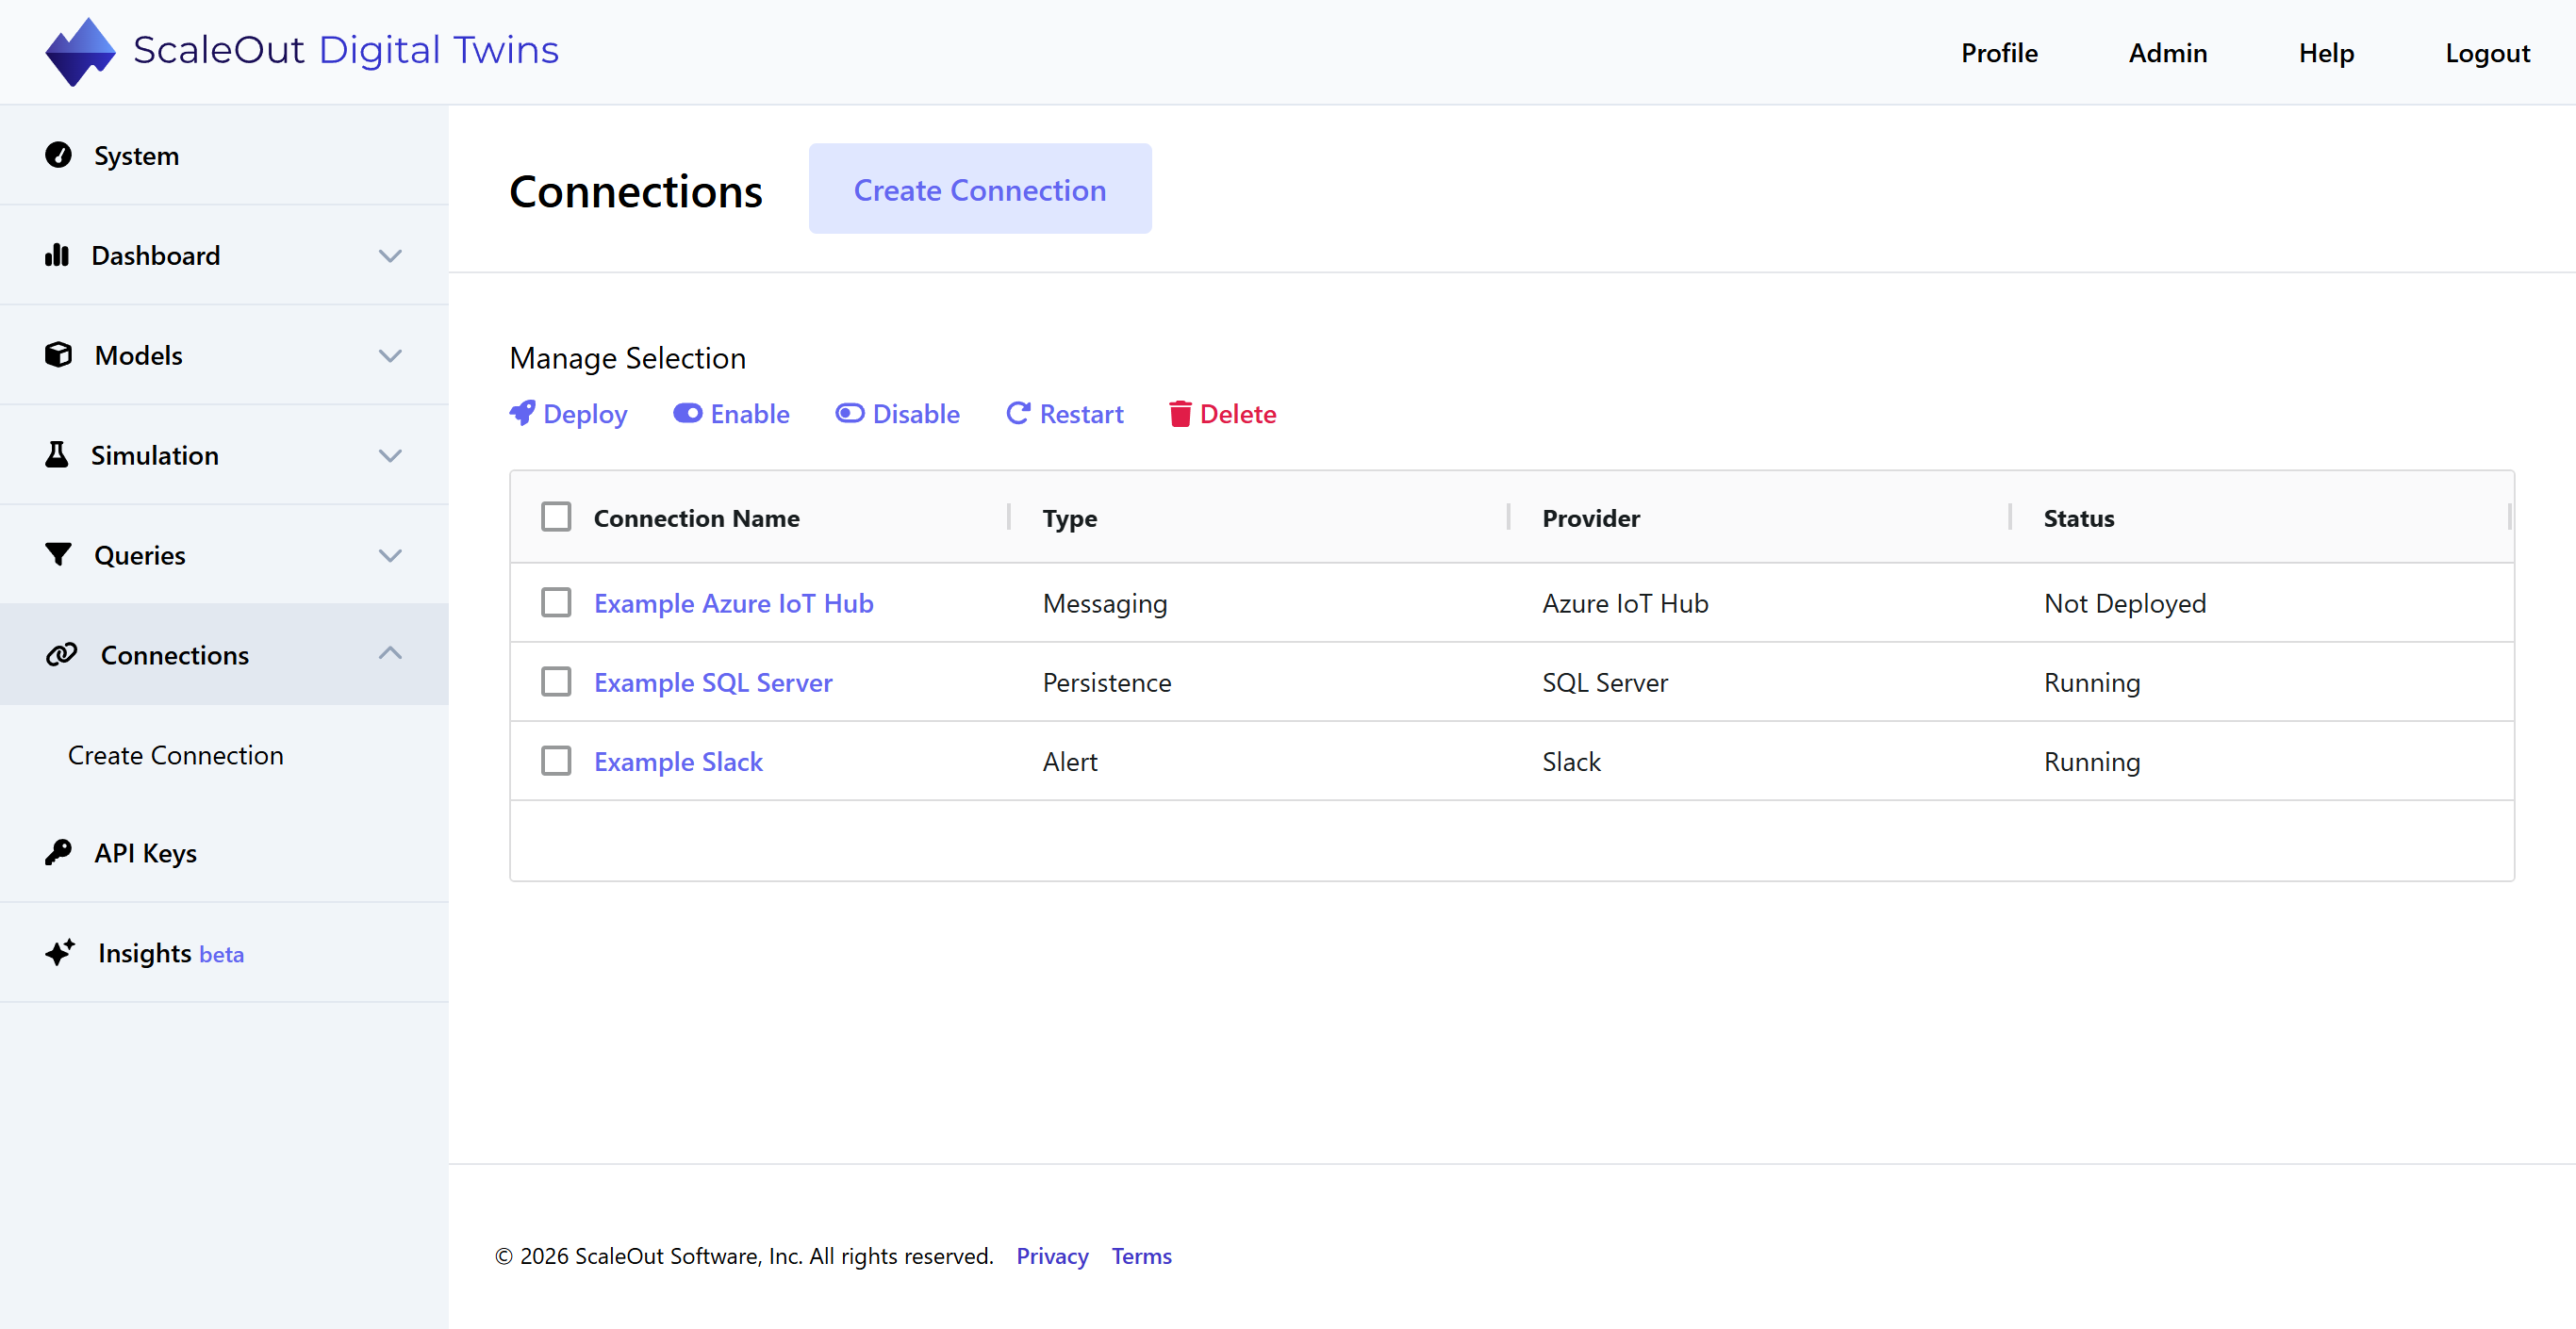
The action buttons allow you to manage the selected connections as follows:
Deploy: If the connection is not currently running (i.e., deployed and sending events), then deploy the connection. This is equivalent to enabling the “Deploy when created” toggle when creating the connection. This action is unavailable if the connection is already running.
Disable: If the connection is currently running, disable the connection but leave it deployed. This temporarily pauses event delivery. This action is unavailable if the connection is not deployed.
Enable: If the connection is currently disabled, re-enable the connection and resume event delivery. This action is unavailable if the connection is not deployed.
Restart: If the connection is currently running but behaving erratically, click this button to restart the connection. A brief window will occur where event delivery may be interrupted while the connection restarts.
Delete: Removes the currently selected connection from the deployment. If the connection is currently running, it will be stopped.
Note
Disable, Enable, and Restart operations are not available for Alert connections. These types of connections can only be deployed or deleted.
Viewing Connection Details
The UI also allows you to view and export connection details. To view a connection, click on its name in the Connection Name column of the table.
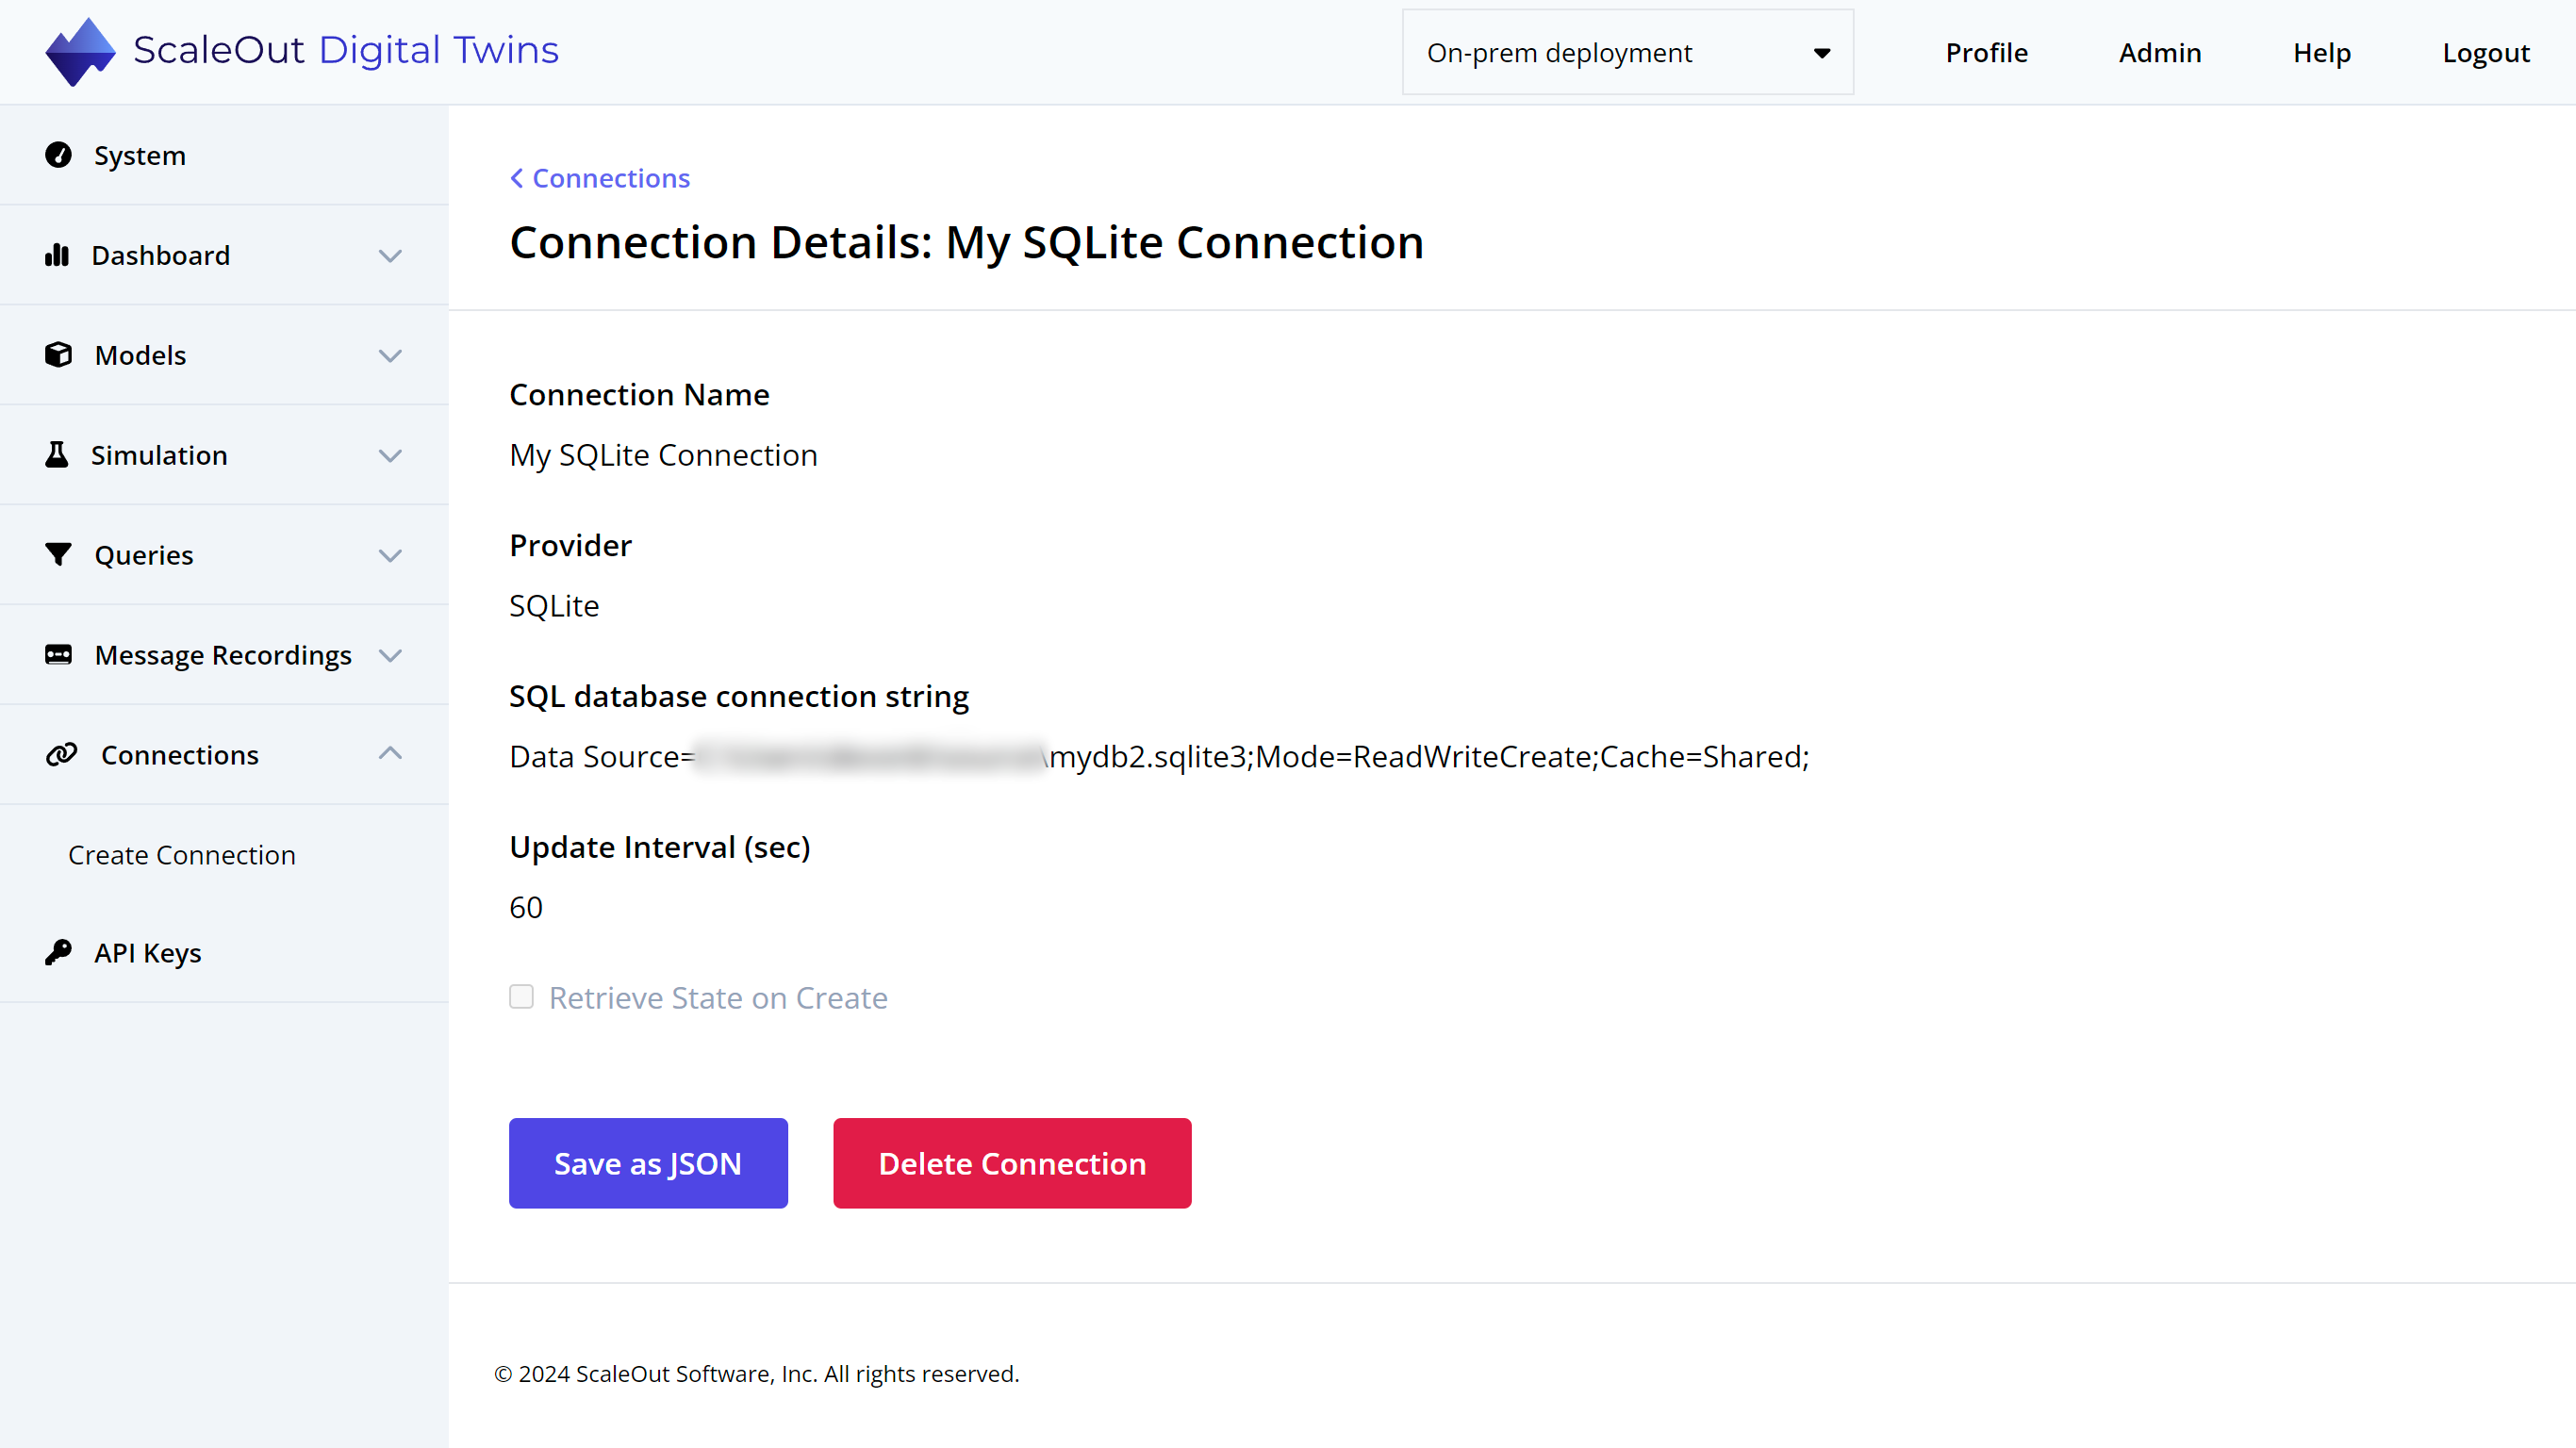
You can select Save as JSON to download the connection details as a JSON file or select Delete Connection to delete the connection.
It is not currently possible to edit a connection once created. If you would like to create a connection with a different name or parameters, the best way to do this is to create a new connection.