Shared Data
ScaleOut Digital Twins supports shared data objects for storing parameters, statistics, and other data. These objects are accessible across all instances of a given model, enabling efficient data sharing and allowing multiple instances to write to a common data set. Additionally, the system supports global shared data, which is accessible to all instances across all models. Some common use cases for shared data include:
Storing simulation parameters
Gathering statistics from real-time or simulated models
Enabling instances or models to share data with each other
This section explains how to work with shared data in the ScaleOut Digital Twins UI.
Accessing the Shared Data UI
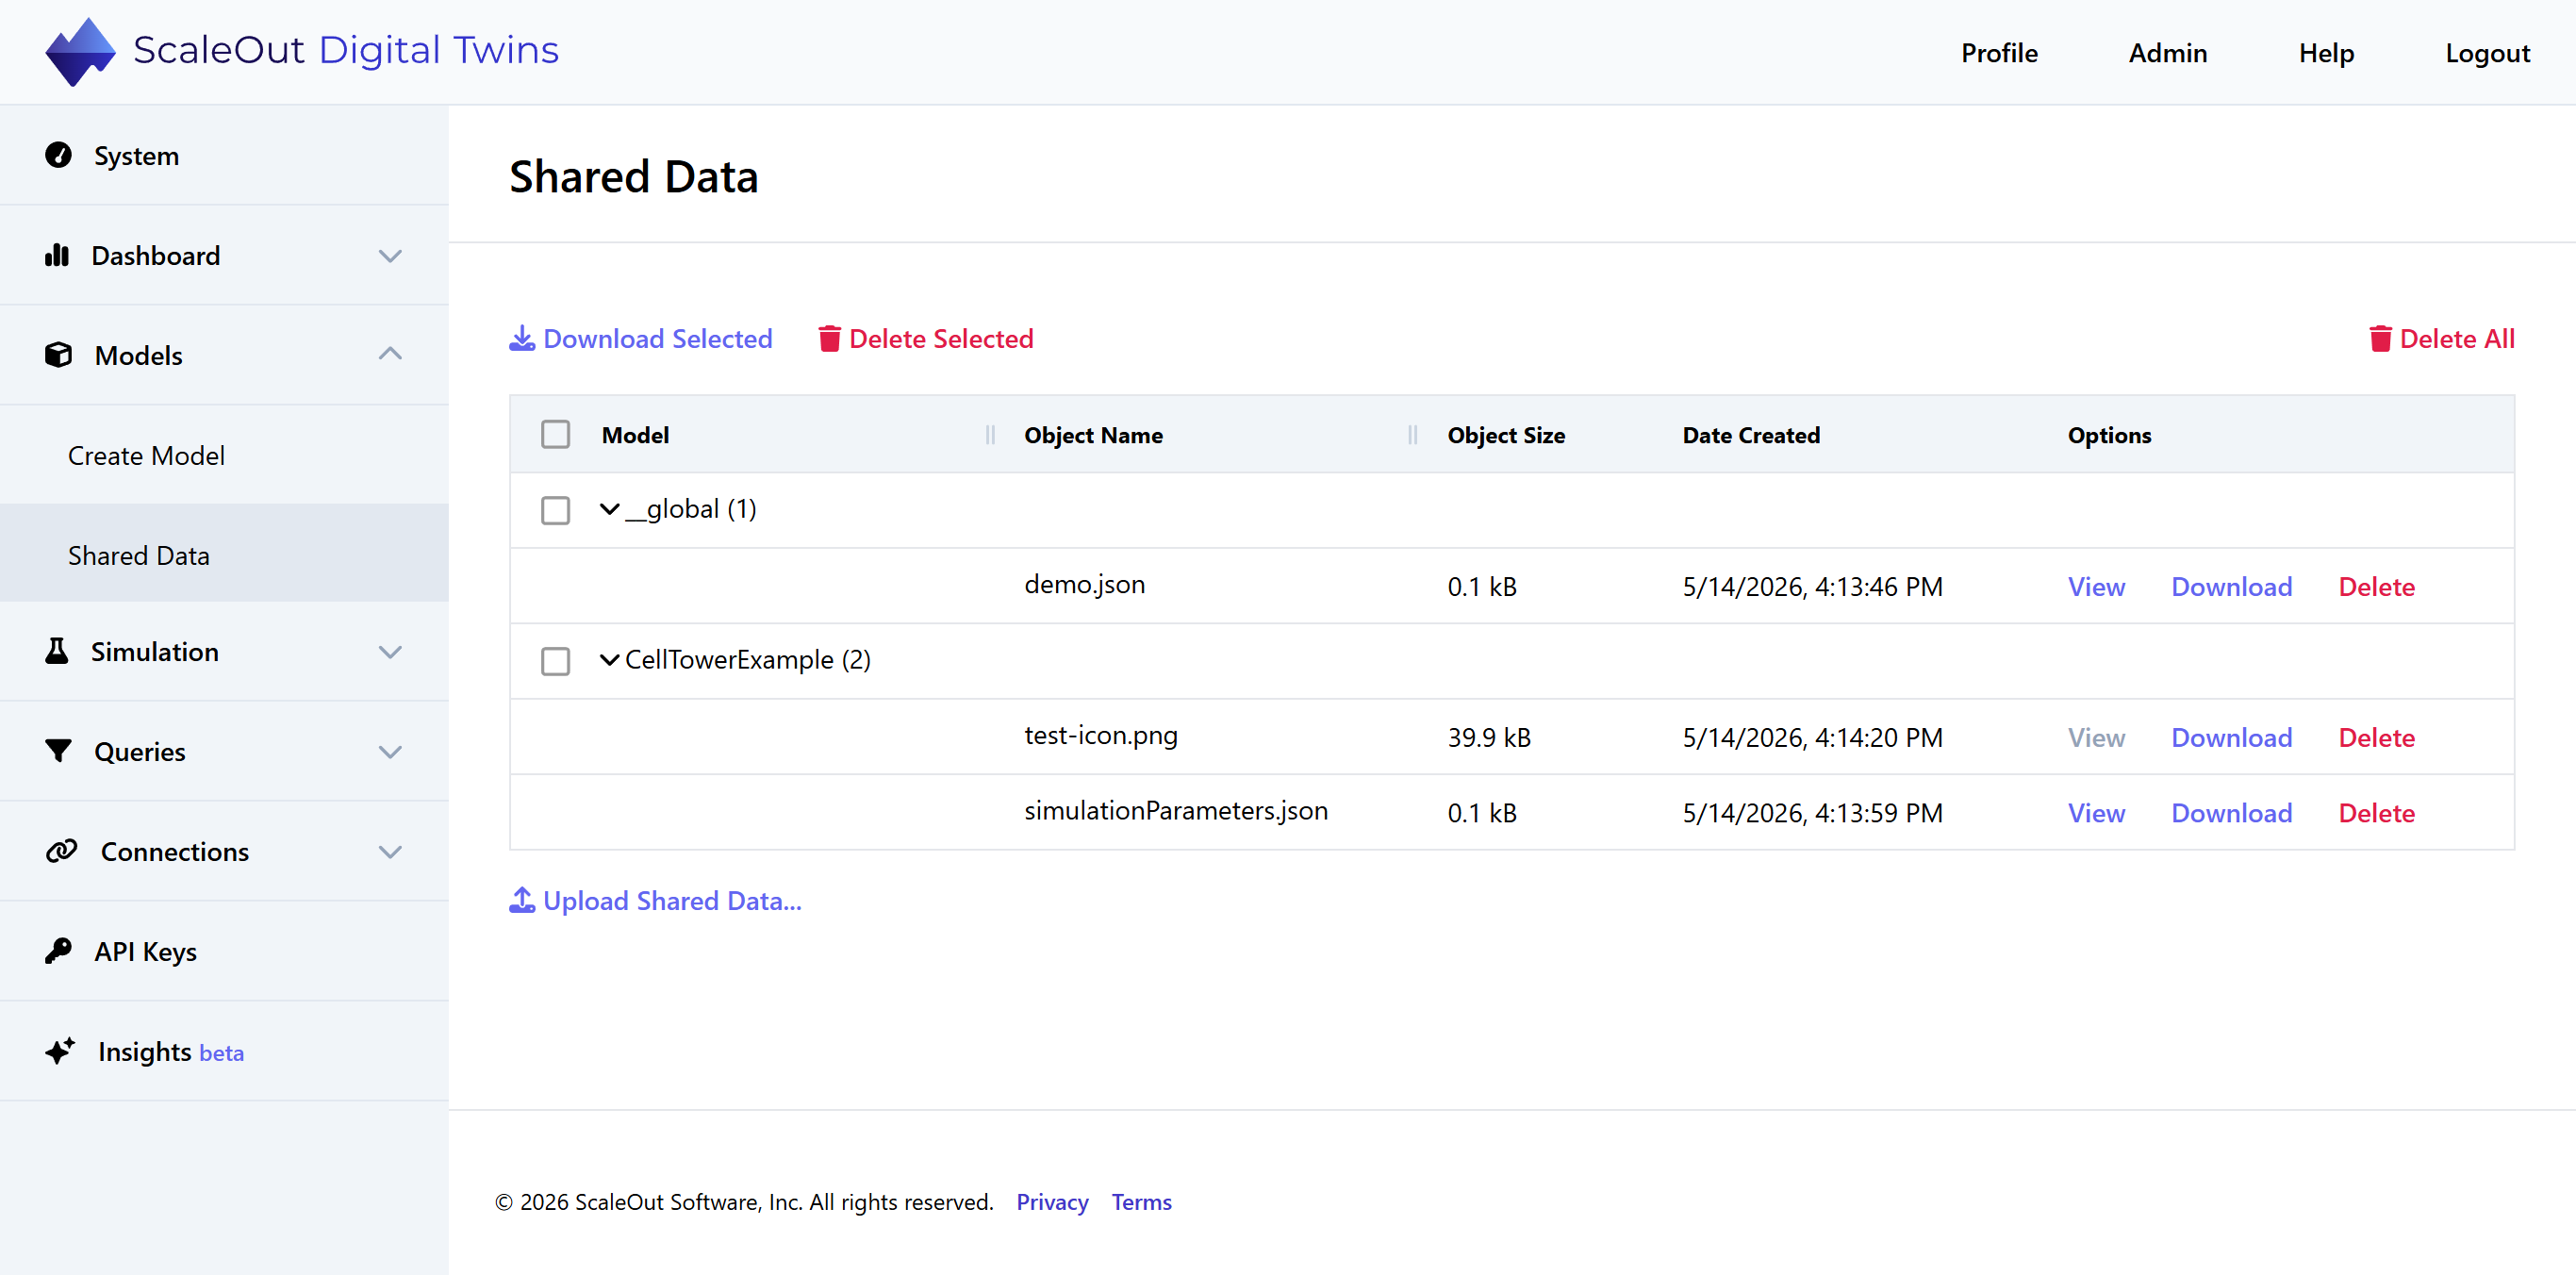
To access the Shared Data page in the UI, first open the ScaleOut Digital Twins UI. Expand the Models section of the left-side navigation and click the Shared Data link. You will reach the Shared Data page, which displays a table of all shared data objects in the system grouped by model. The topmost item, “__global”, represents the Global namespace – data that is shared between all models.
Groups are collapsed by default. The number of shared data objects associated with the model is indicated by the number to the right of the model name. You can click the model name to view a list of individual objects. The table lists each object’s name, size, and date created, along with several management options.
Uploading Shared Data
To upload a new shared data object, click the Upload Shared Data… button below the table. The “Upload Shared Data” form will appear.
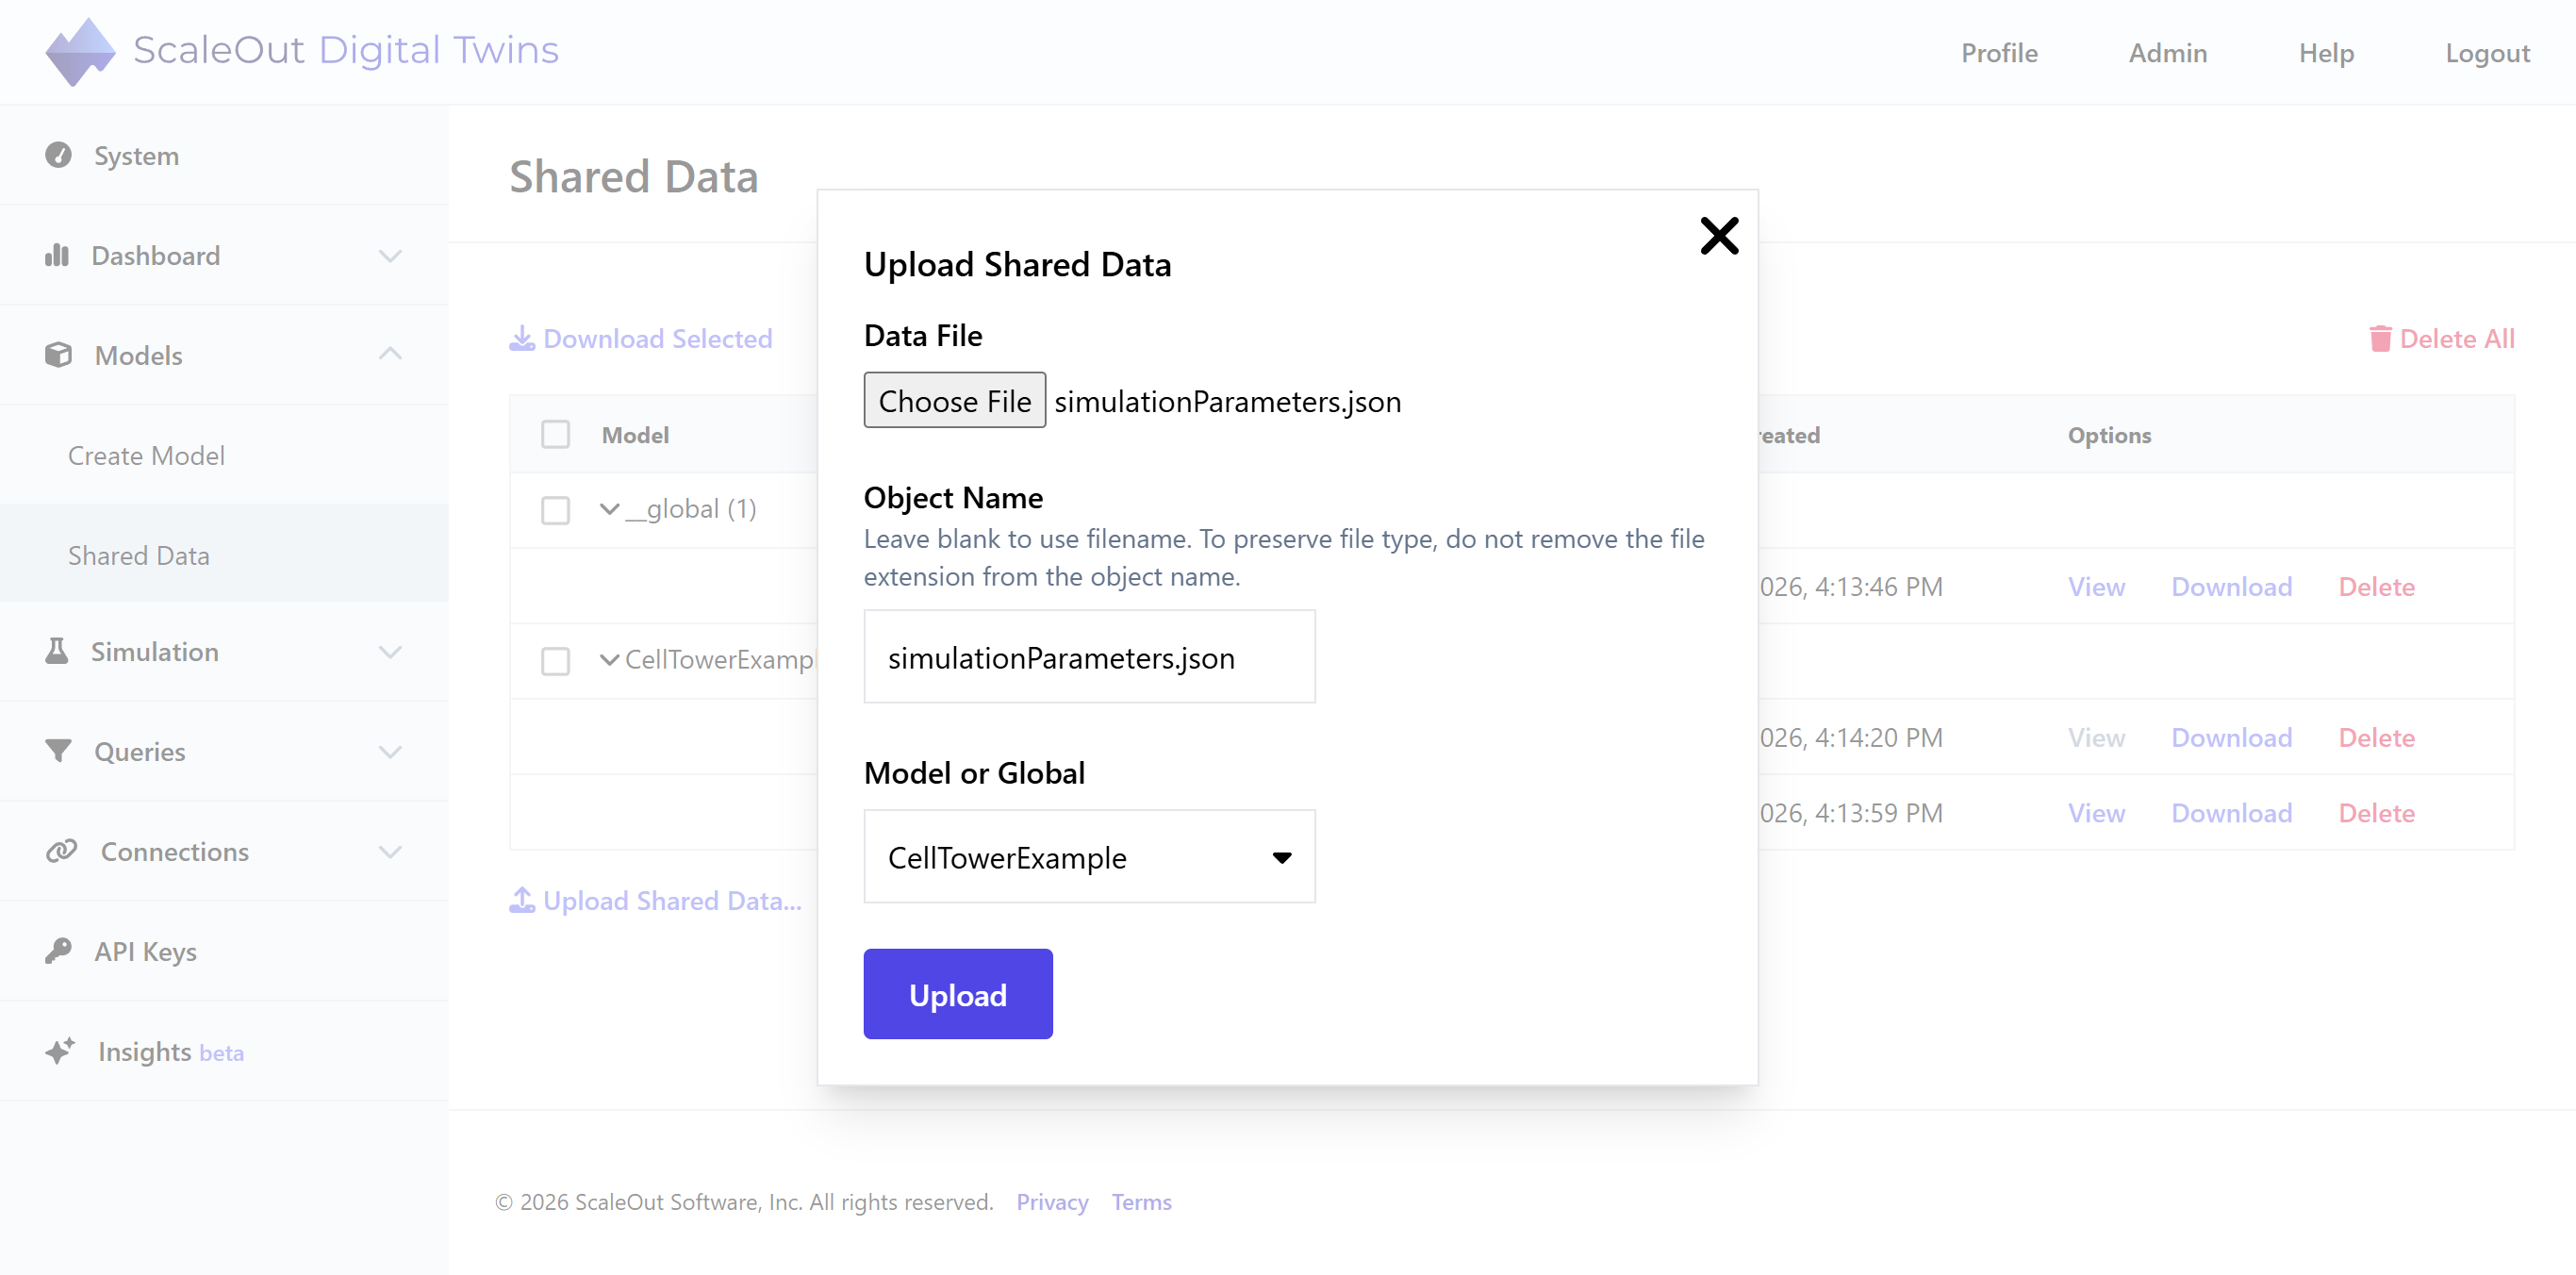
Next, select a file to upload. The shared data object name will automatically be set to the filename. You can change this name if you would like. To ensure the object can be downloaded in its original file format, it is recommended to keep the file suffix (e.g. .csv, .json).
Note
All file types can be uploaded. Files are stored in memory as byte arrays. When downloading the file, the system attempts to restore it to its original format (e.g., JSON). If the file format cannot be determined, the file will be downloaded as bytes.
Note
The maximum file size for shared data objects is 100 MB.
Finally, select a model (or global) to associate the object with. If you choose a specific model, the object’s contents will be accessible to that model. If you select Global, the contents will be accessible to all models.
Click Upload to finish uploading the object. Once uploaded, the object will appear in the table.
Editing Shared Data JSON
Shared data objects that are in JSON format can be viewed and edited within the UI. To view a JSON-formatted object, click the View button under Options in the table. The object contents will appear in a JSON viewer inside a modal window.
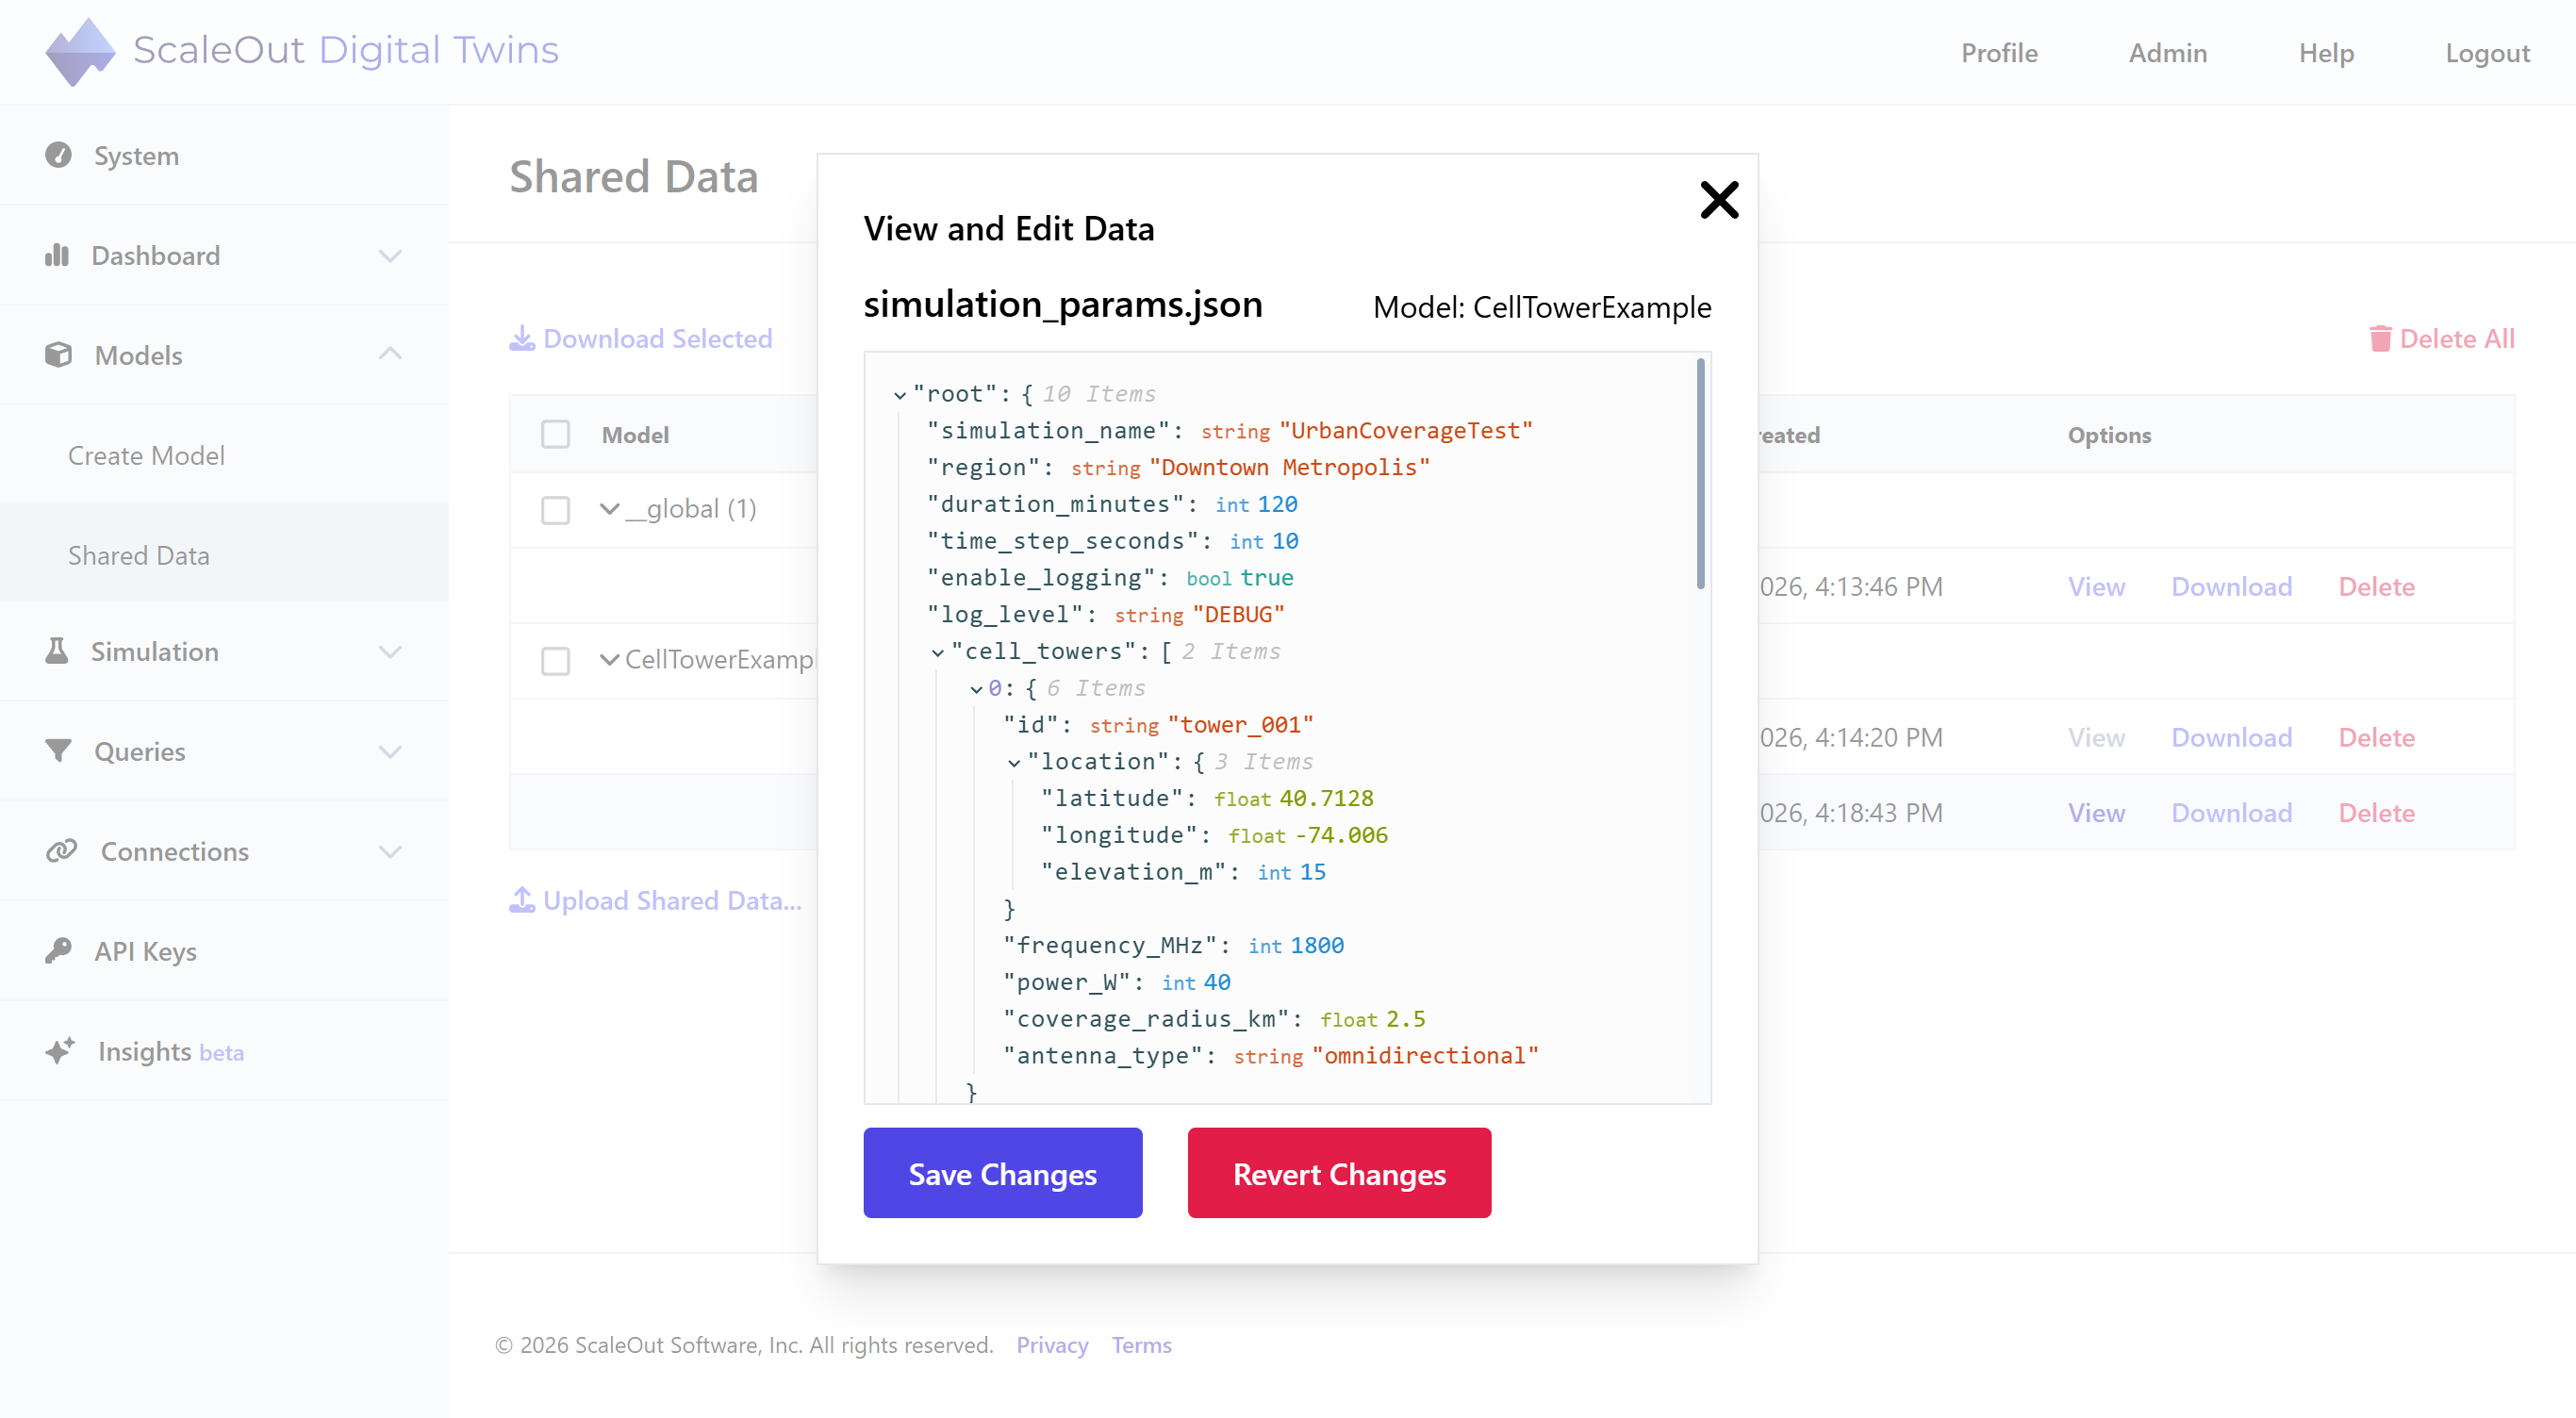
You can copy, edit, add, or delete properties using the inline editing options in the JSON viewer. To add a property to an object or array, click the inline plus button and enter the new key and value.
Tip
To add a nested object in the JSON editor, enter an object as the value in a key/value pair. For example, using
myKeyas the key and{'hello': 'world'}as the value will create a nested object undermyKey.To add an element to an array, enter the desired array index as the key. Note that if there is an existing array element at the specified index, it will be overwritten.
Changes will be saved once you click the Save Changes button. If you would like to undo recent changes, click the Revert Changes button to reset the JSON to the last saved values.
Deleting Shared Data
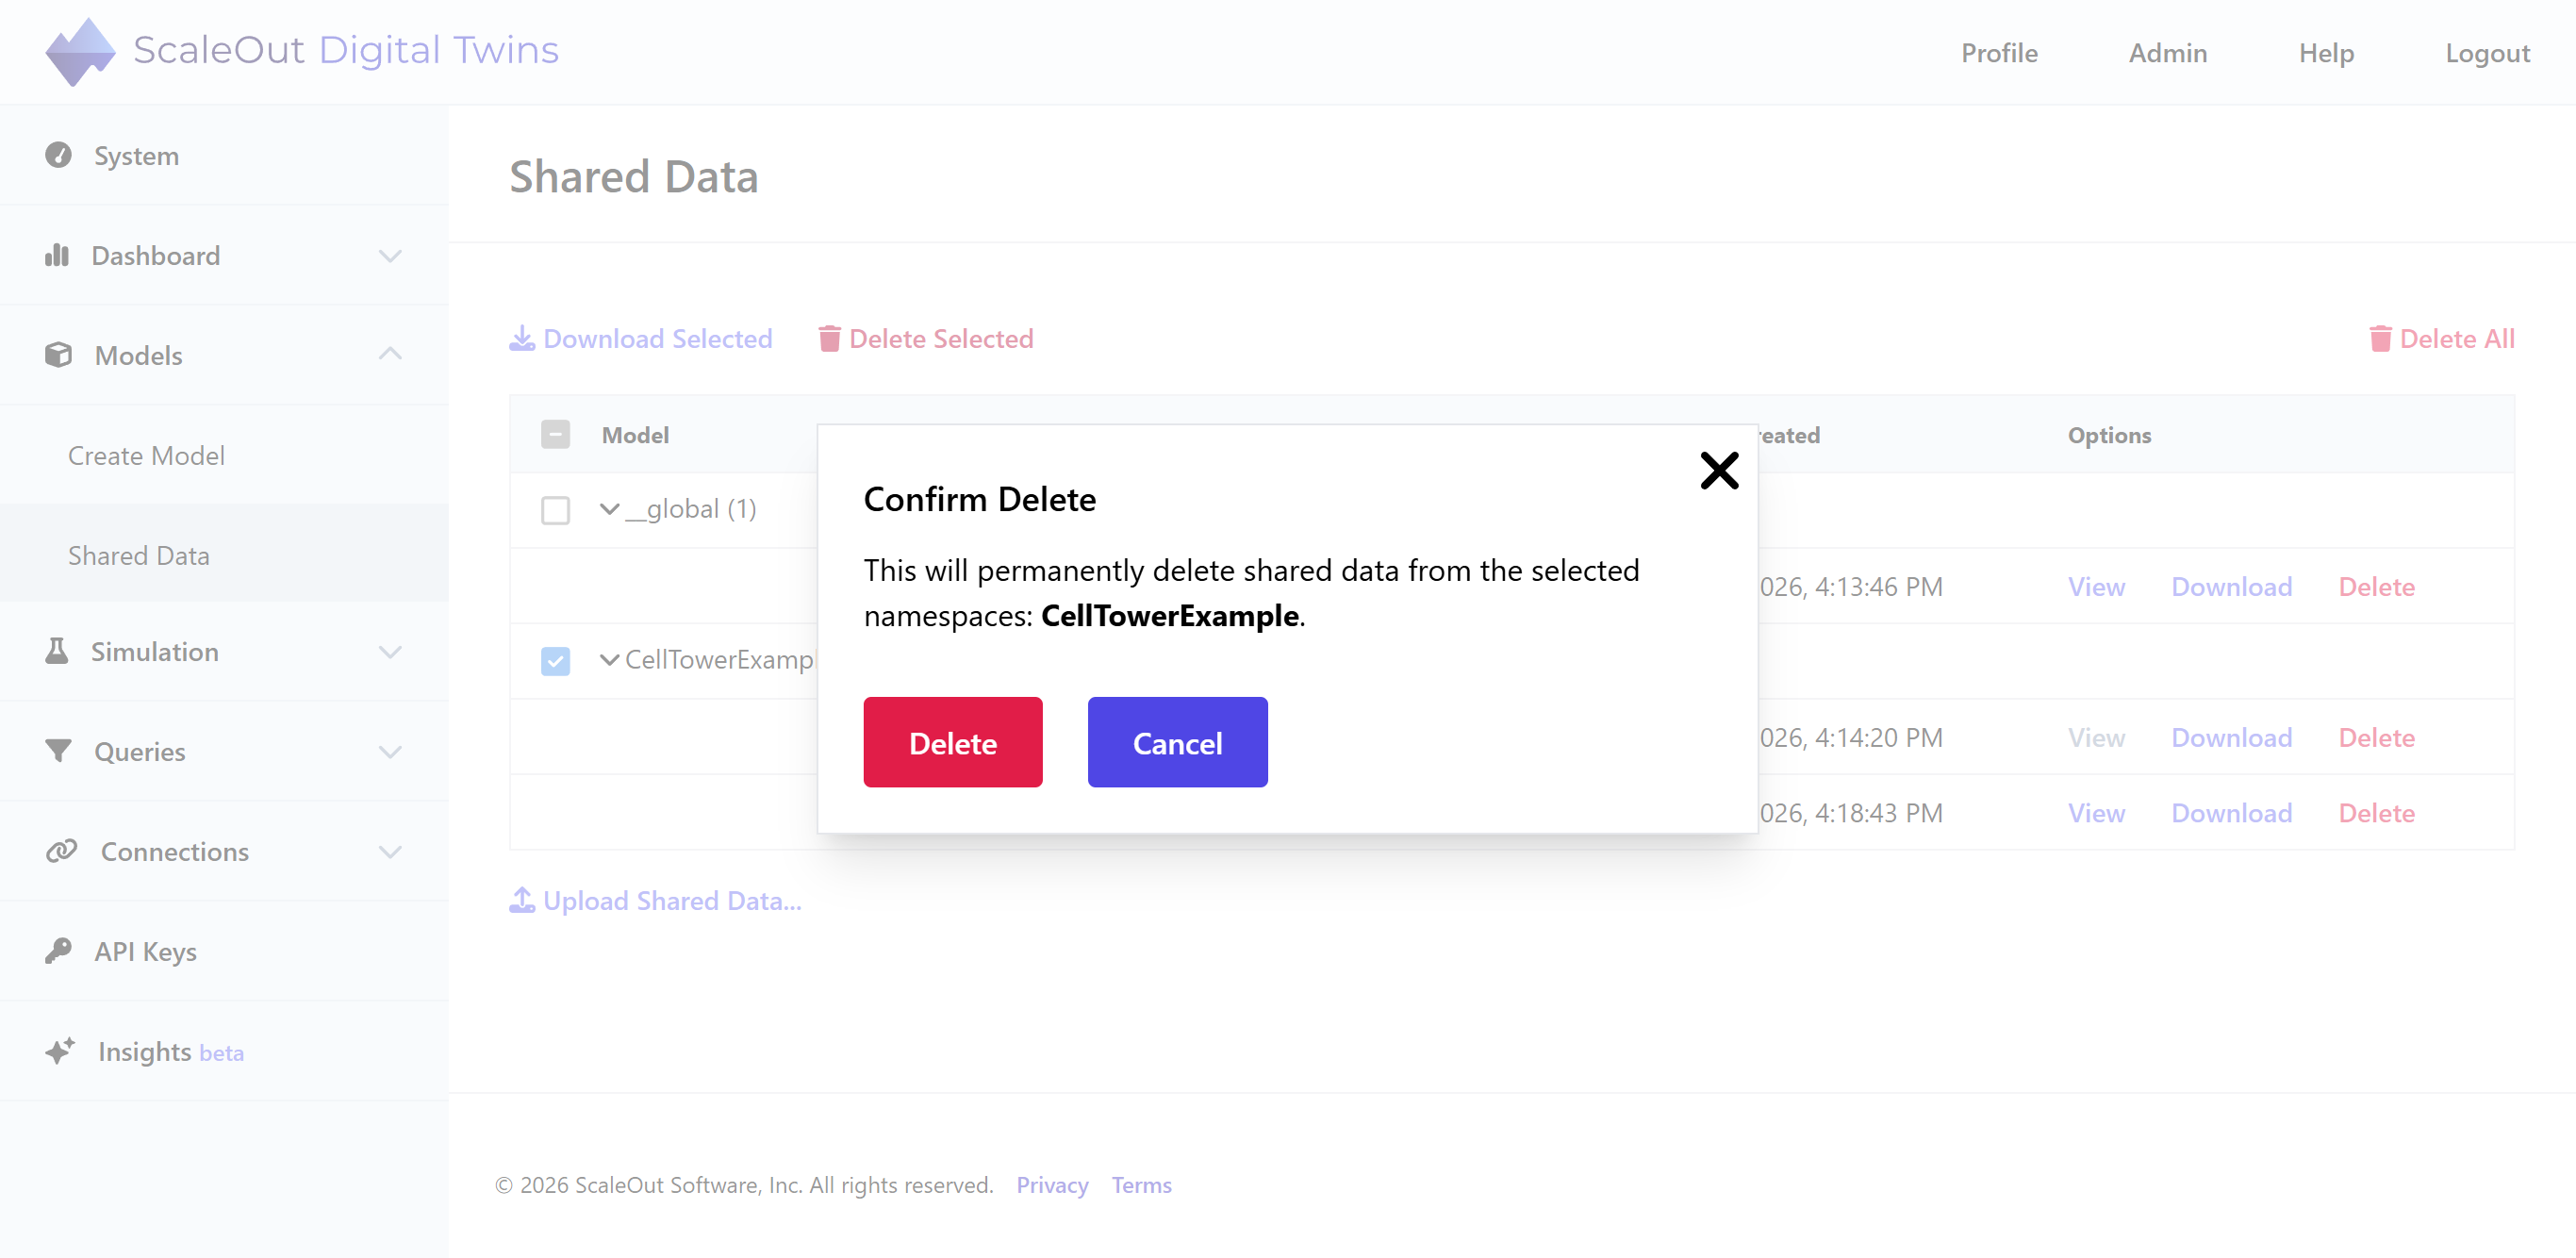
To delete a single shared data object, click the Delete button under the Options column in the table. Confirm your selection in the confirmation dialog, and the object will be deleted from the system.
To delete all shared data for one or more models, first select the models by checking the checkboxes in the leftmost column. Then click the Delete Selected button above the table. Confirm your selection, and all shared data objects associated with the selected models will be deleted.
To delete all shared data, click the Delete All button and confirm your choice. All shared data will be deleted from the system.