Viewing Query Results
After you create a query, you’ll automatically be redirected to the results. You can also reach the Query Results page by selecting Query Results under Queries in the left-side navigation bar. Query results can be viewed as a table or map. To switch between query and map view, click View as Table or View as Map on the right side of the screen above the results.
This section provides more detail on how to use the Table and Map views.
Viewing Queries as a Table
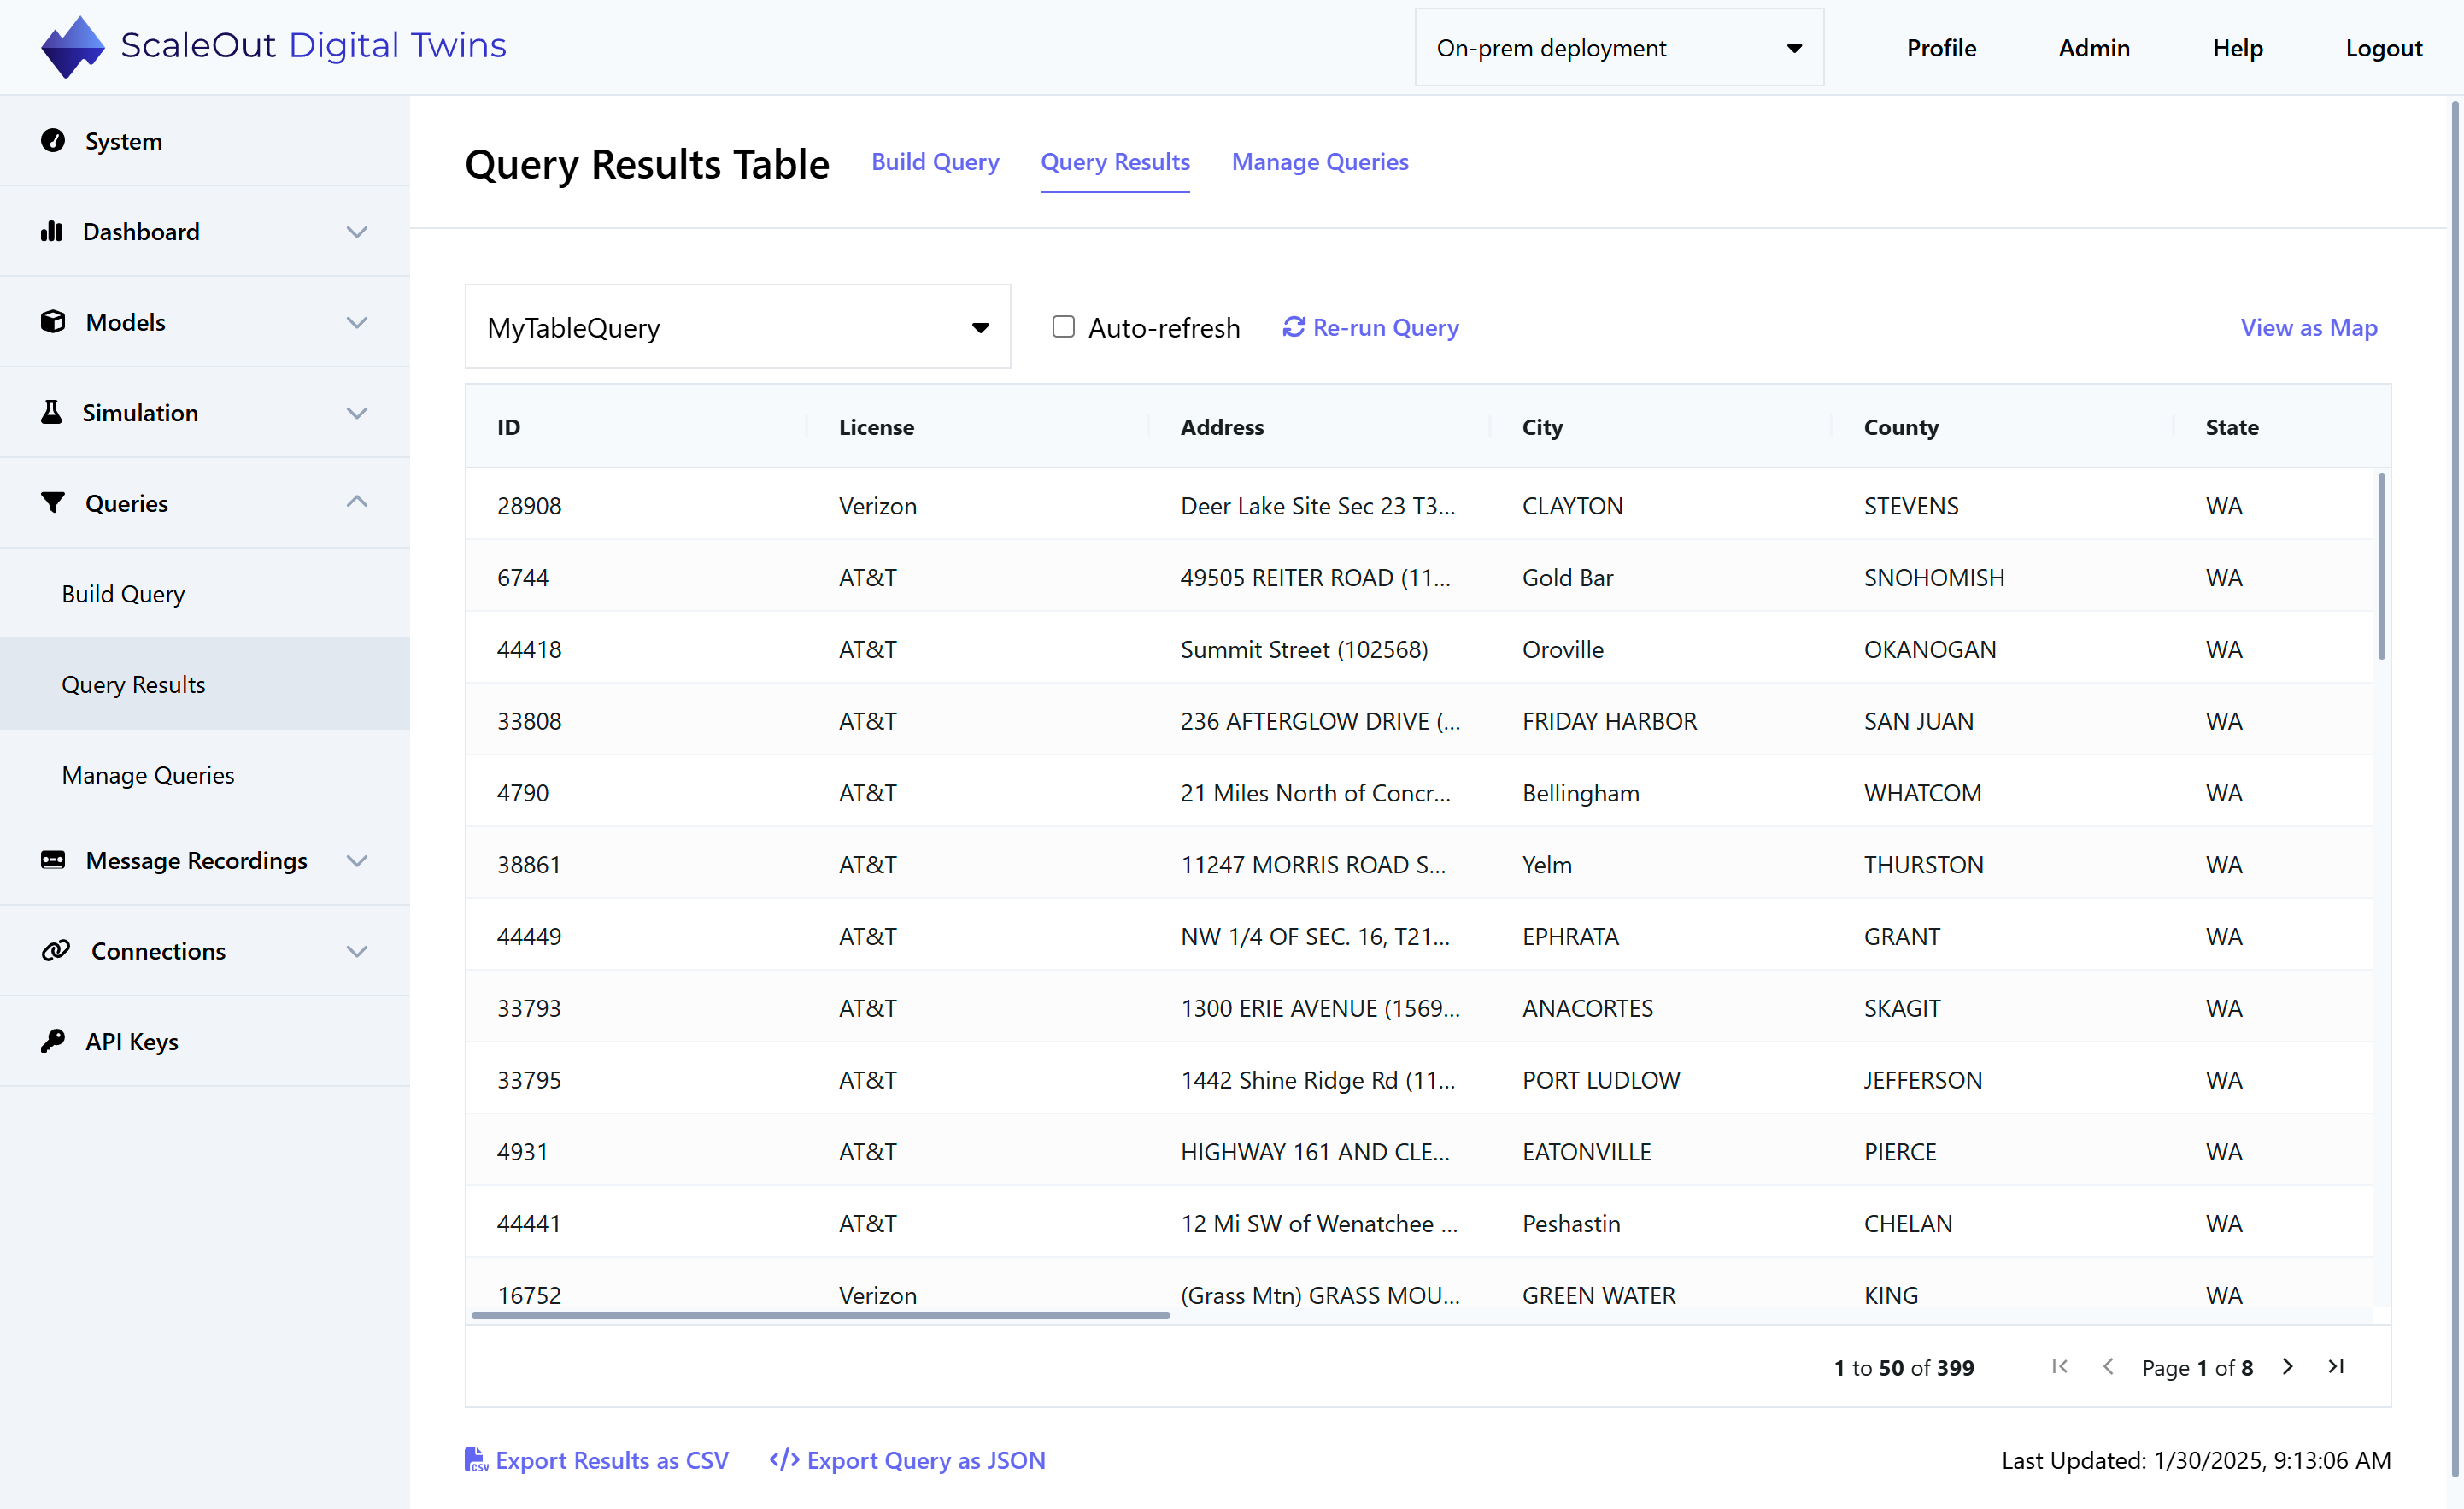
When you create a table query, you will be automatically redirected to the Query Results page in Table view:
Selecting a Query
The dropdown menu in the top left shows the name of the currently selected query. Clicking on it brings up a list of all queries that are available to view in the table:
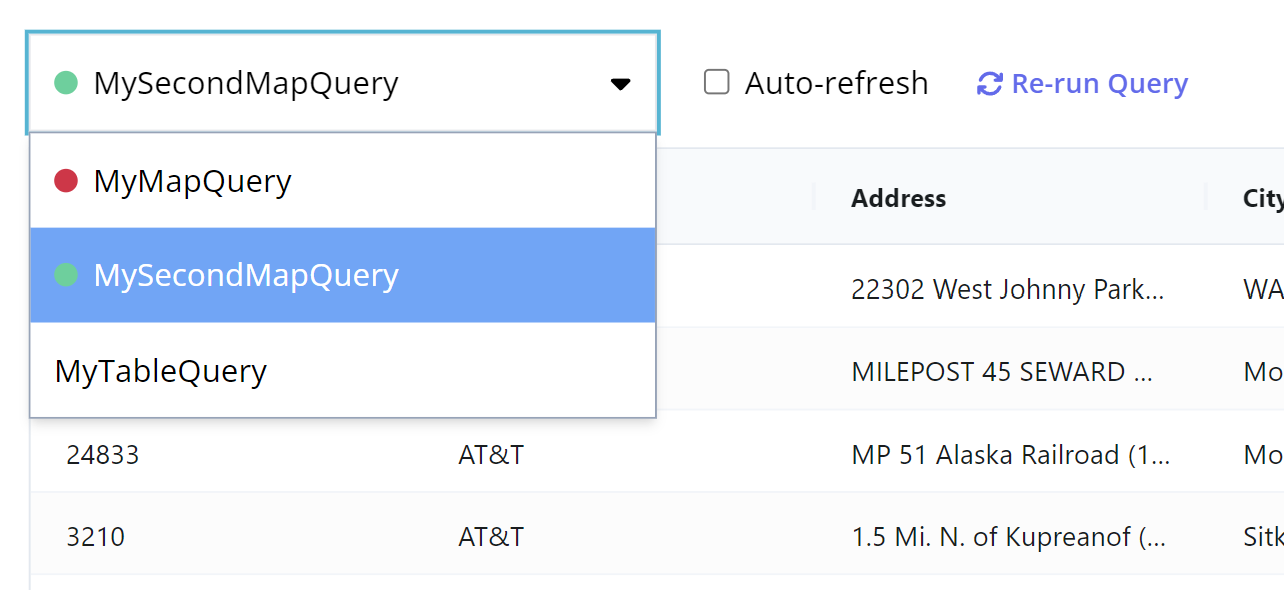
Note that both Map Queries and Table Queries can be viewed in table mode. The green or red dot next to the query name indicates the status (Running or Stopped) for continuous queries. Click on any query name to load its results into the table.
Refreshing Query Results
Above the results table, to the right of the dropdown menu, are two options: Auto-refresh and Re-run query. Click Re-run query to refresh the query results at any time. Check the Auto-refresh checkbox to automatically refresh continuous query results every 5-10 seconds (one-time queries will not be auto-refreshed). The time the query was last refreshed is shown at the bottom right of the table.
Exporting Queries and Query Results
Under the table on the left are two buttons: Export Results as CSV and Export Query as JSON. Choose Export Results as CSV to export the query results (i.e., the data shown in the table) to a CSV file. Choose Export Query as JSON to export the query specification to a JSON file. You can later upload this file to the Build Query form. You might use this option if you want to temporarily delete the query from the system and restore it later.
Viewing Queries on a Map
Note
If map query is disabled, you or your administrator will need to add your own ArcGIS API key to enable the UI to connect to the map API. You can obtain a free API key at ArcGIS Developers. The administrator can add the key on the Admin page under “API Keys.”
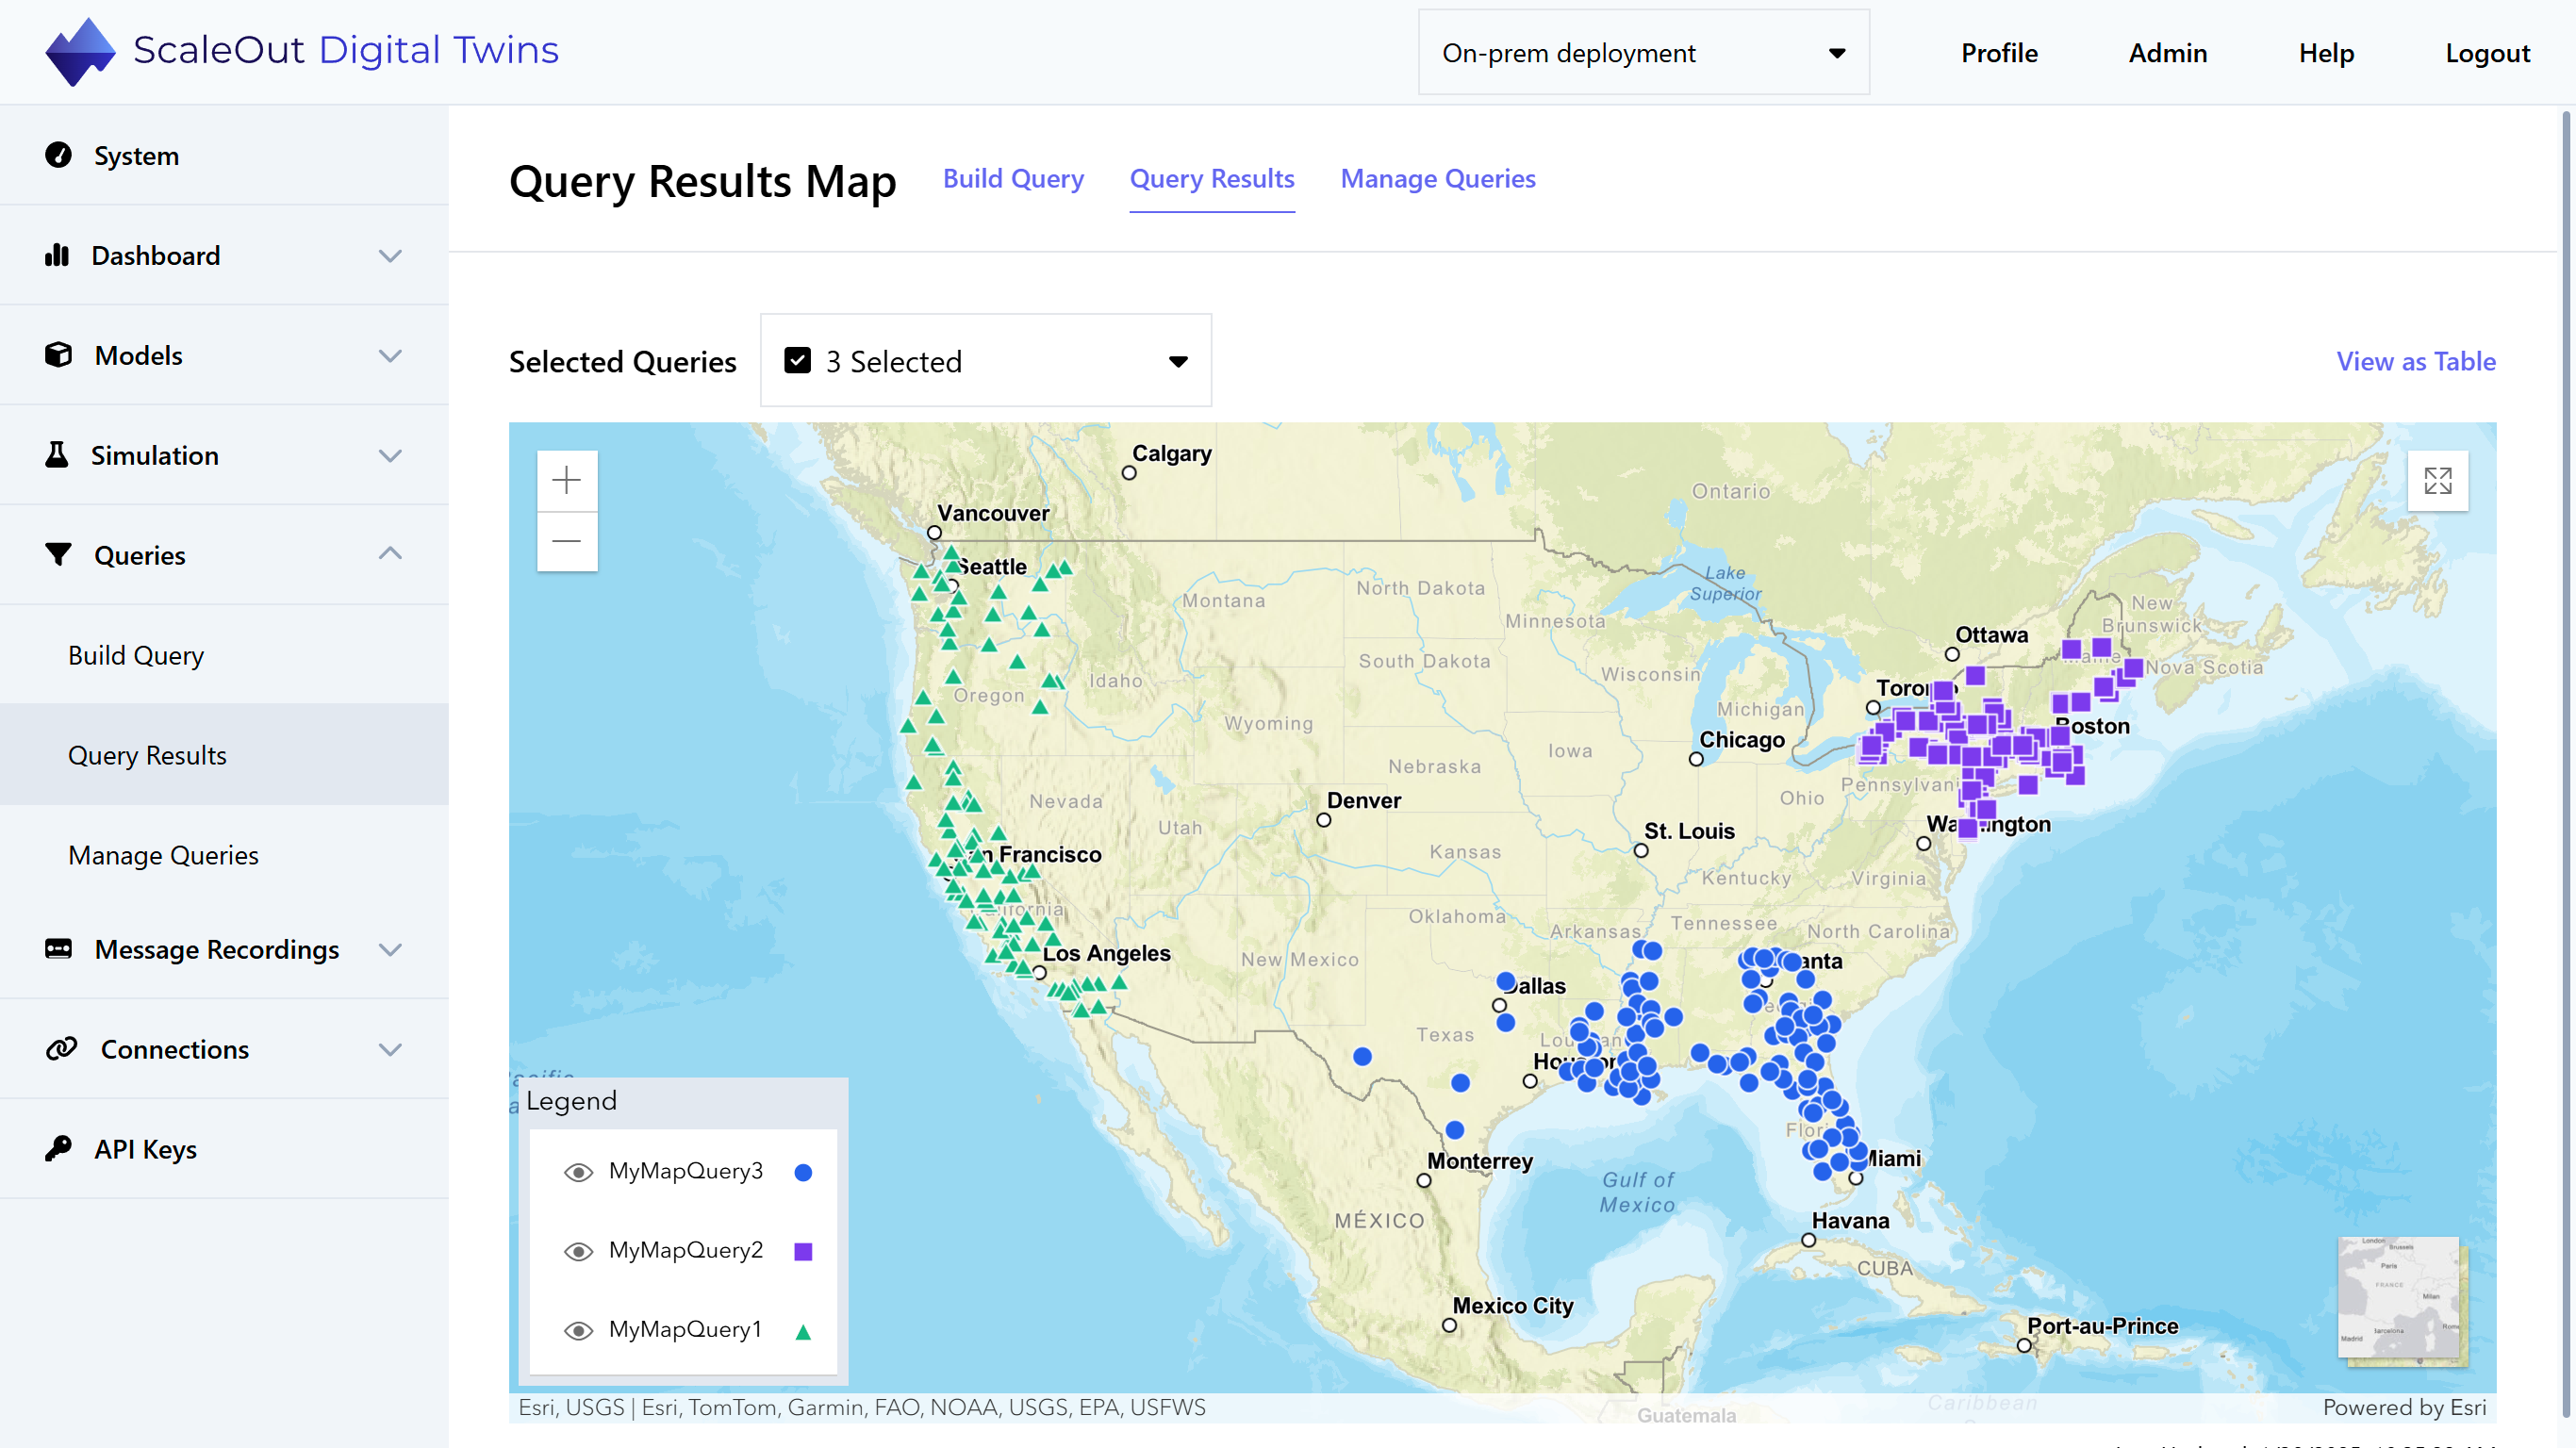
When you create a map query, you will be automatically redirected to the Query Results page in Map view:
Selecting Queries
The Selected Queries dropdown menu at the top left of the map allows you to choose which queries are displayed on the map. Click on the dropdown to view the list of options:
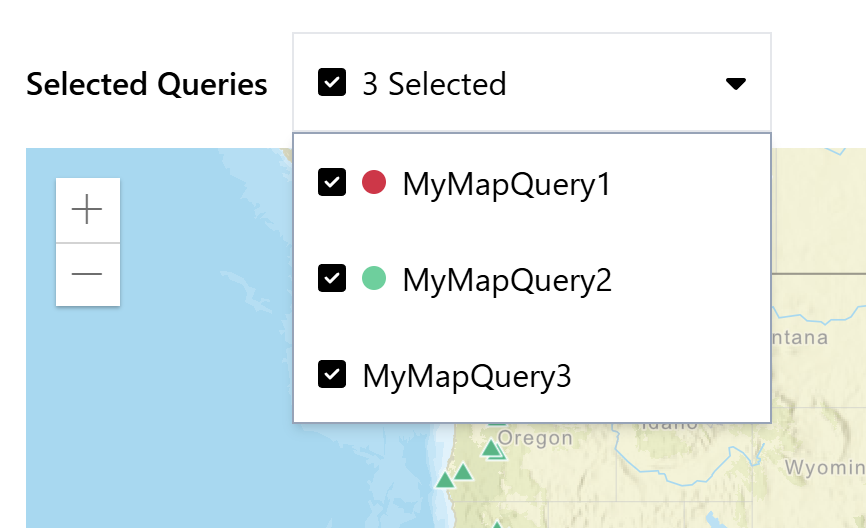
Selected queries are shown with a checked box next to their names. In this case, the first two queries are selected. To select or deselect queries, simply click the corresponding checkbox. To select or deselect all queries, click the top checkbox.
Hint
Selecting or deselecting queries with the dropdown menu will reload the entire map. To quickly show or hide queries without reloading the map, click the eye icon 👁️ next to the query names in the map legend.
For continuous queries, a green or red dot next to the query name in the dropdown menu indicates the status (Running or Stopped). Continuous queries that are Running will automatically refresh every 5-10 seconds. The time the results were last updated is shown at the bottom right of the map. You can start or stop a continuous query on the Manage Queries page.
Viewing Query Result Details
Click on any map marker to view details for a query result. When a map marker is clicked, a pop-up box will appear:
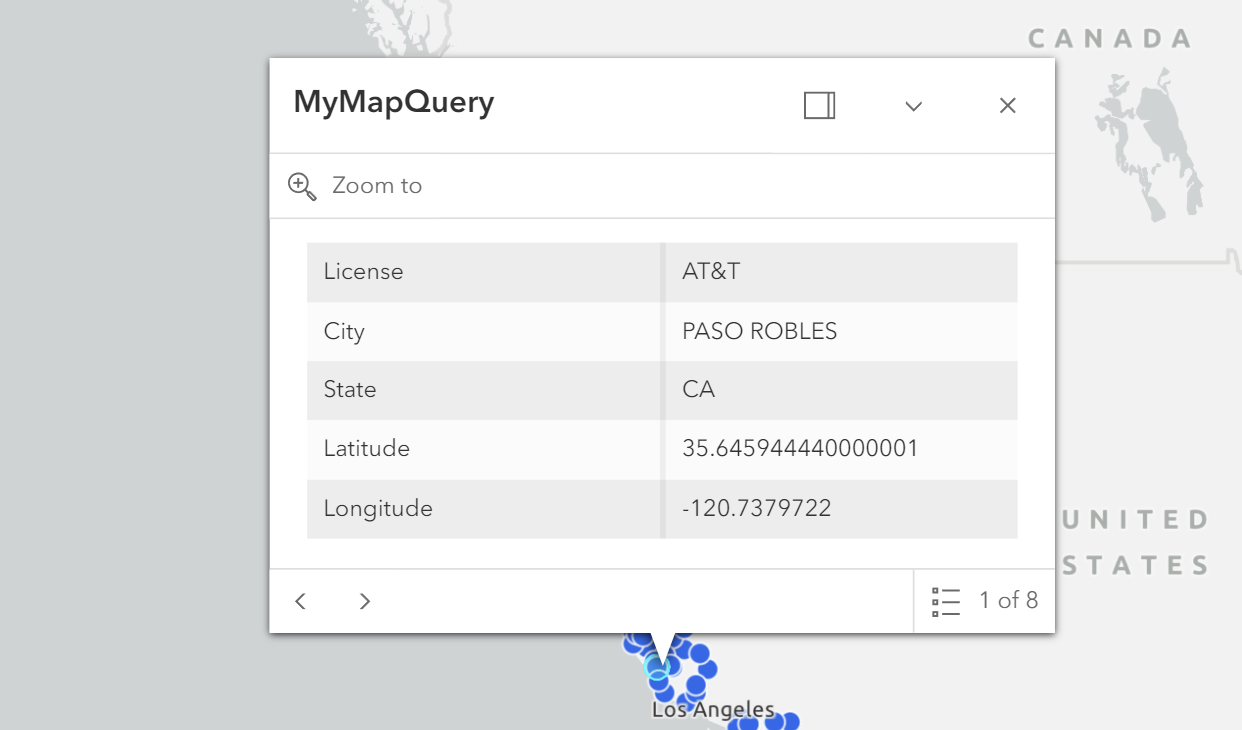
This shows information about the selected query result, which is highlighted in light blue on the map. Click “Zoom to” to zoom in on the selected data point. If multiple data points are close together, you can use the arrows at the bottom left of the pop-up to switch between them.